
Program settings
See which settings page controls business details, partner rules, application intake, branding, fraud, and attribution.
Before you start
- Know the basic rules you want for your partner program.
Where to find it
Merchant sidebar → Settings → Open the matching settings page
Steps
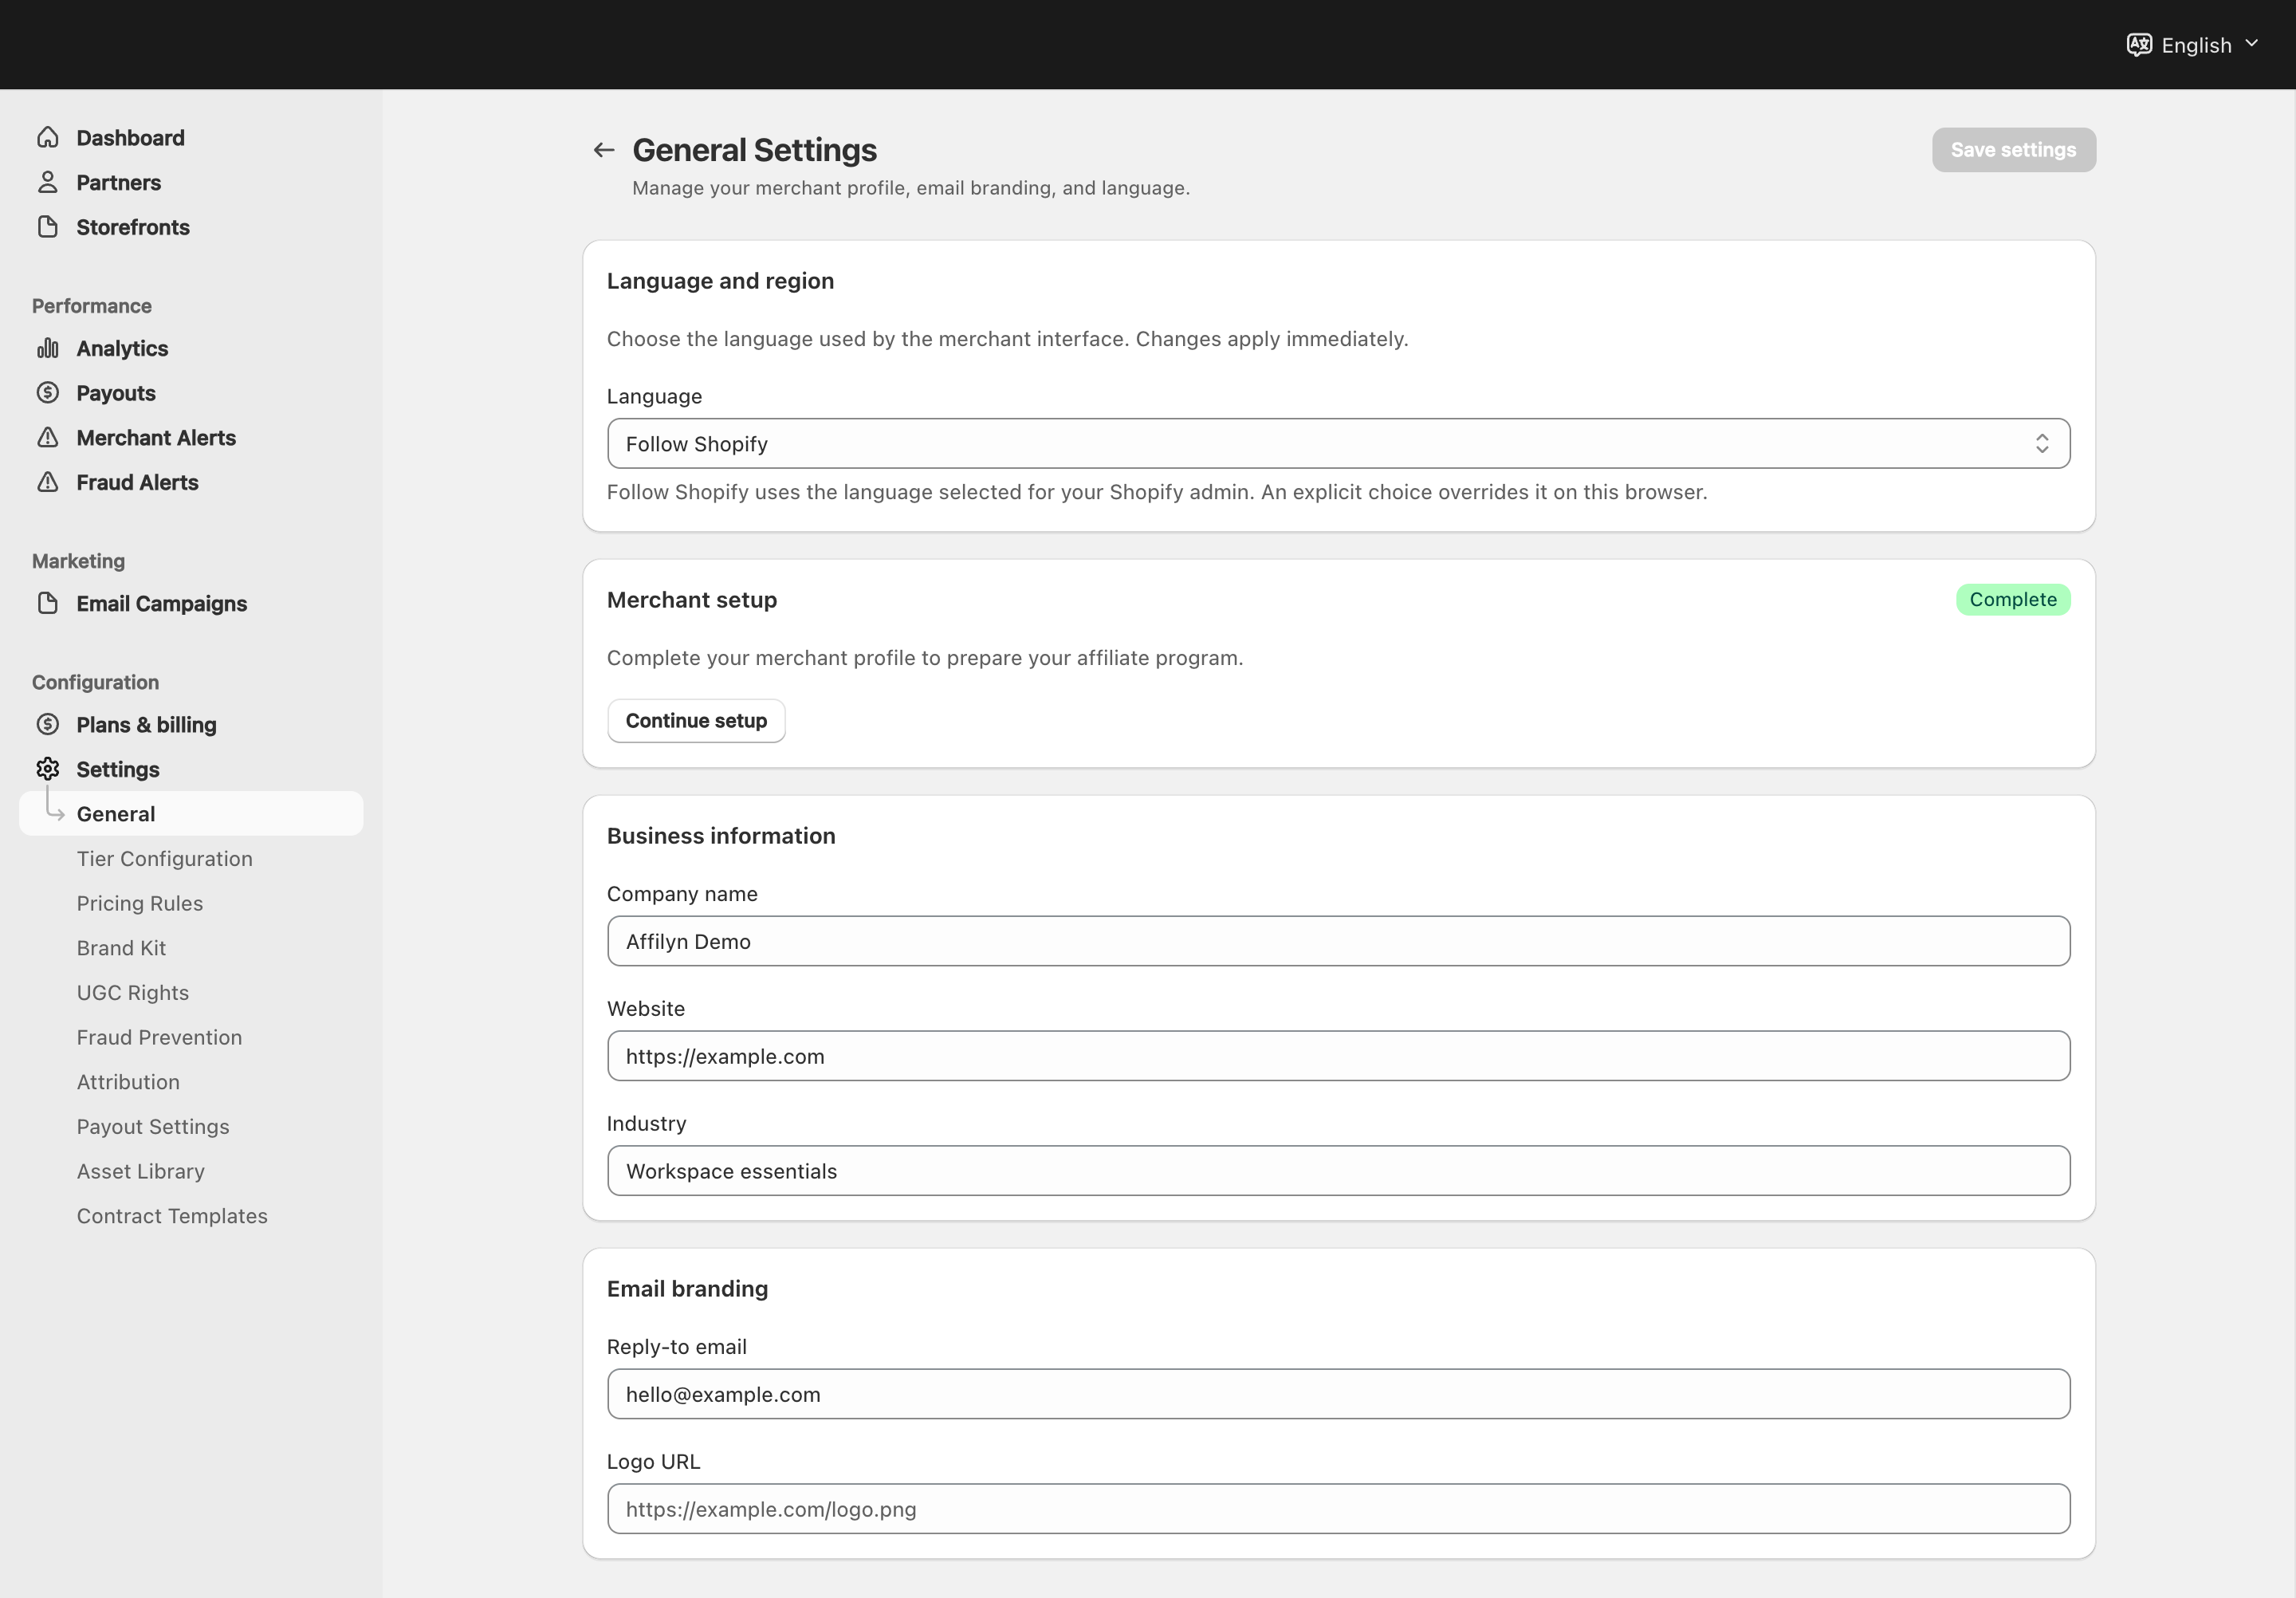
View full-size image: General settings and language
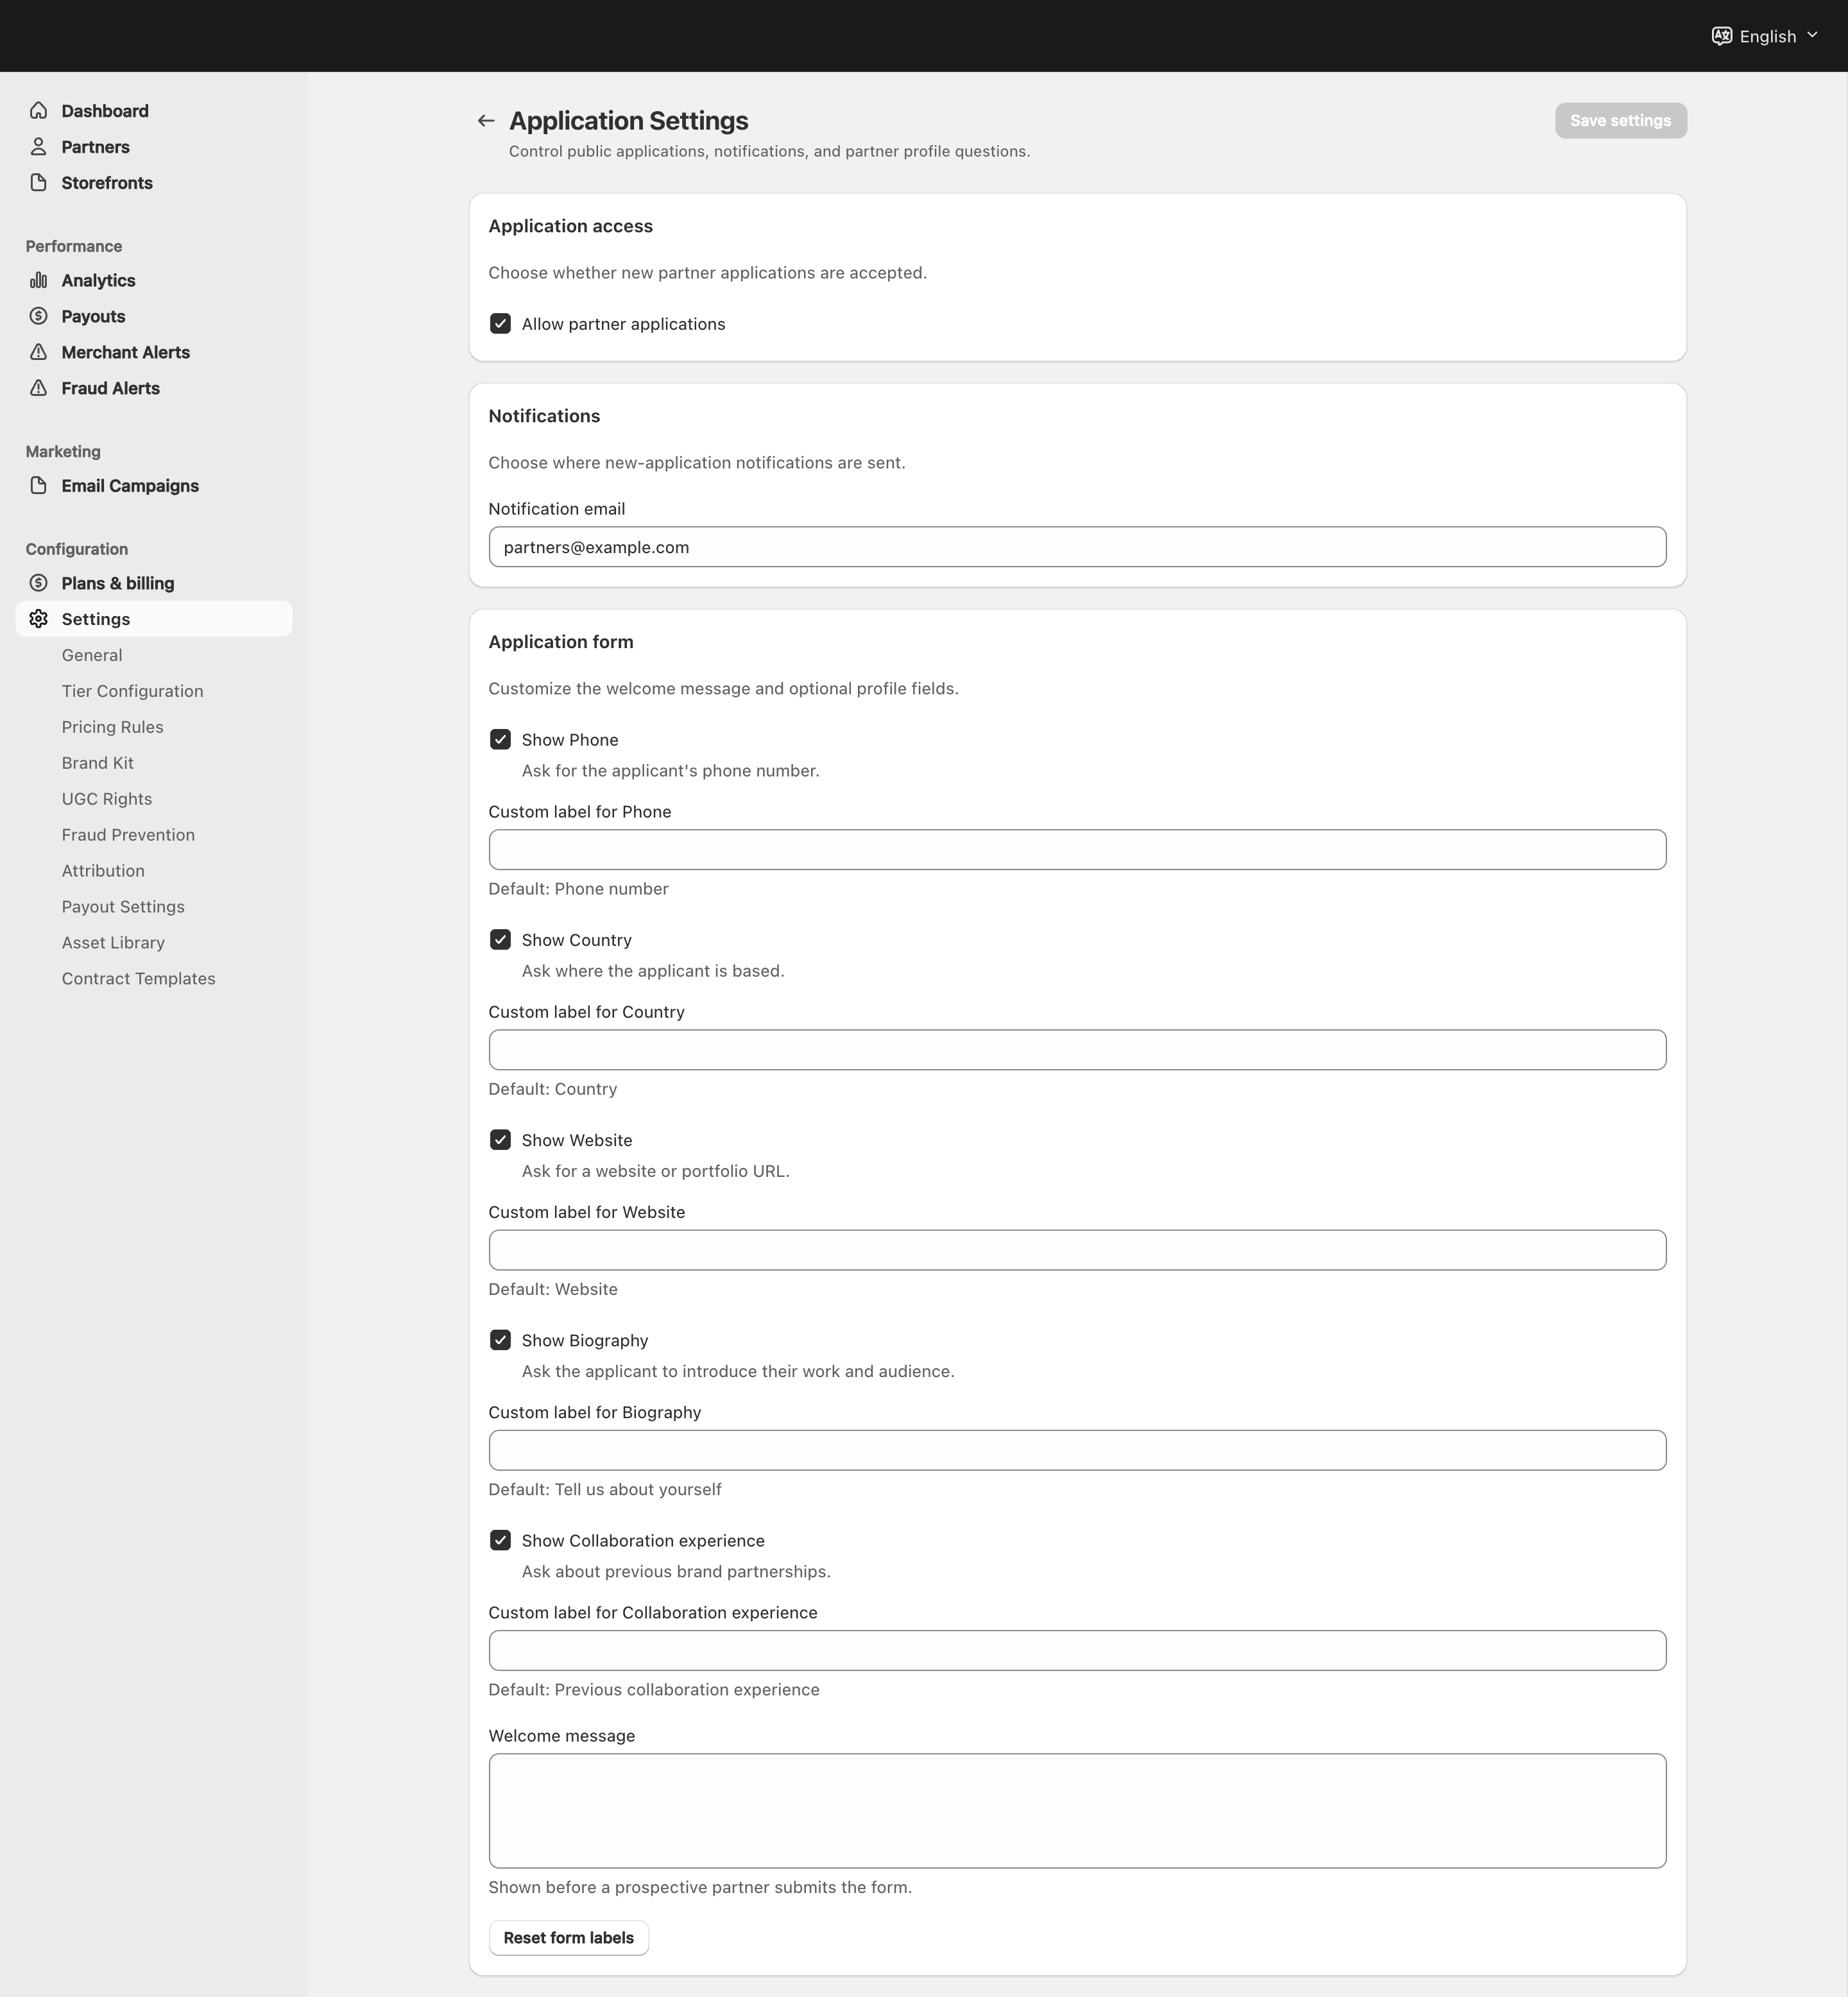
View full-size image: Partner Program
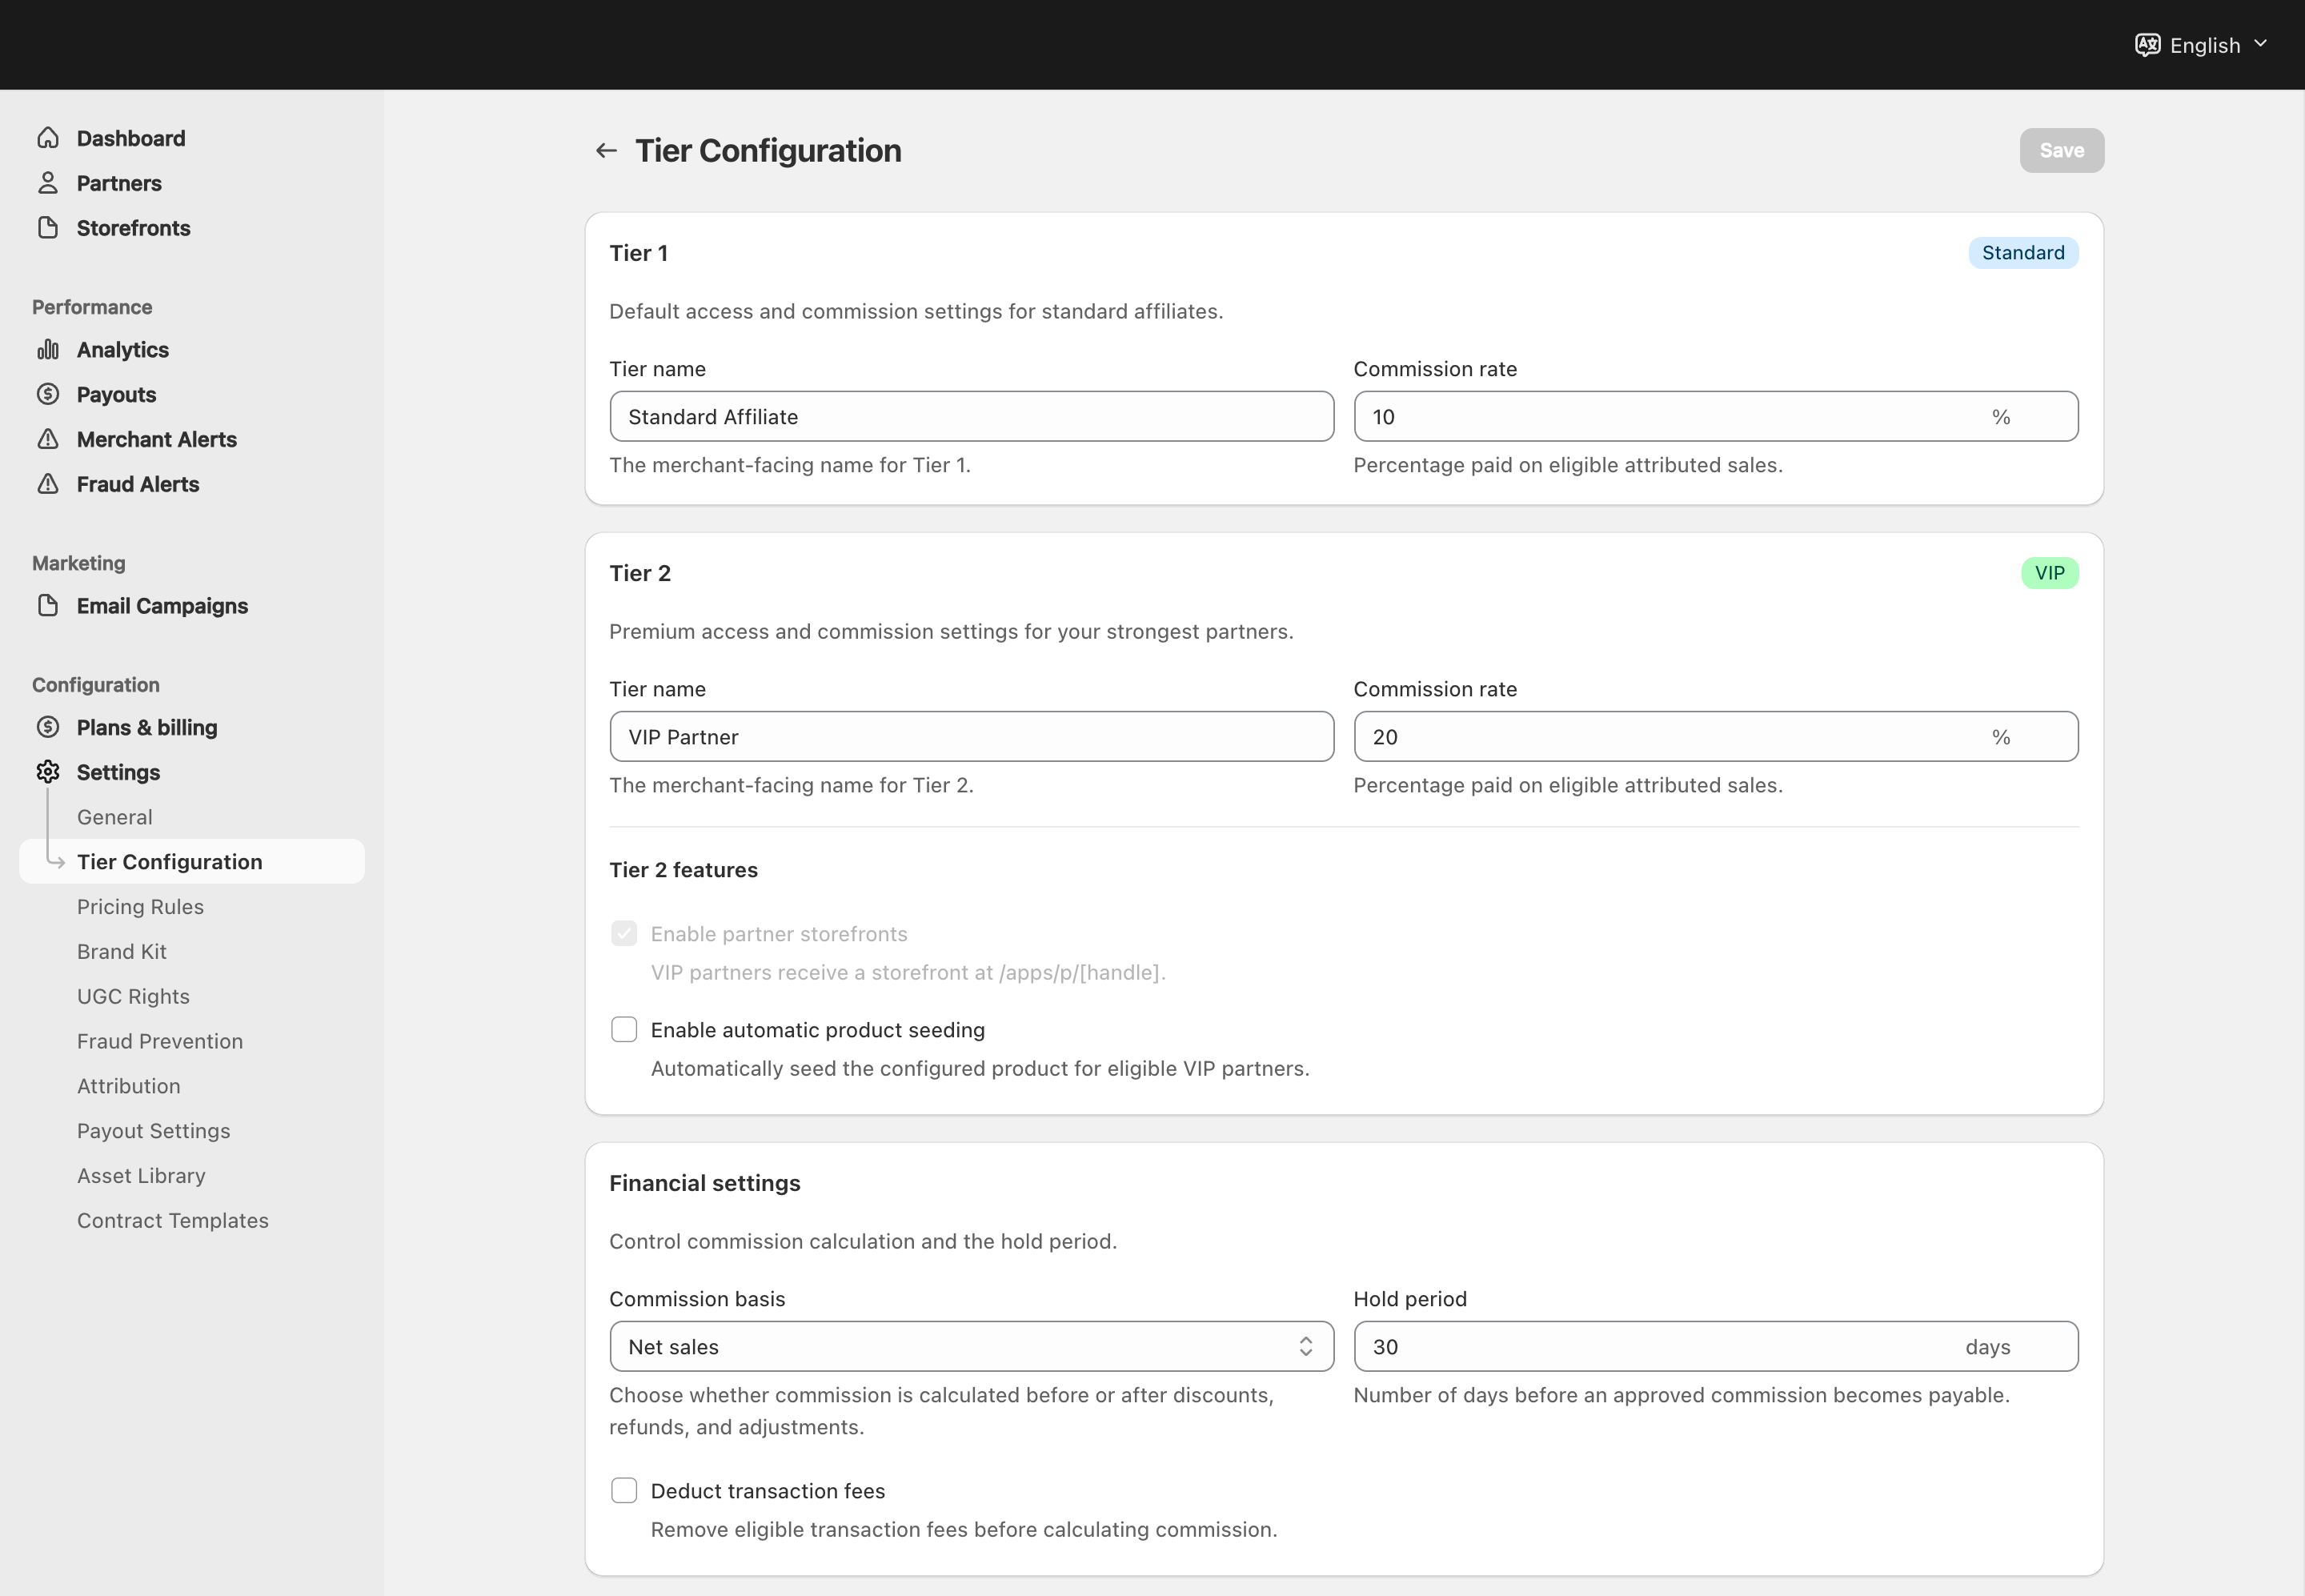
View full-size image: Tier names, commissions and financial settings
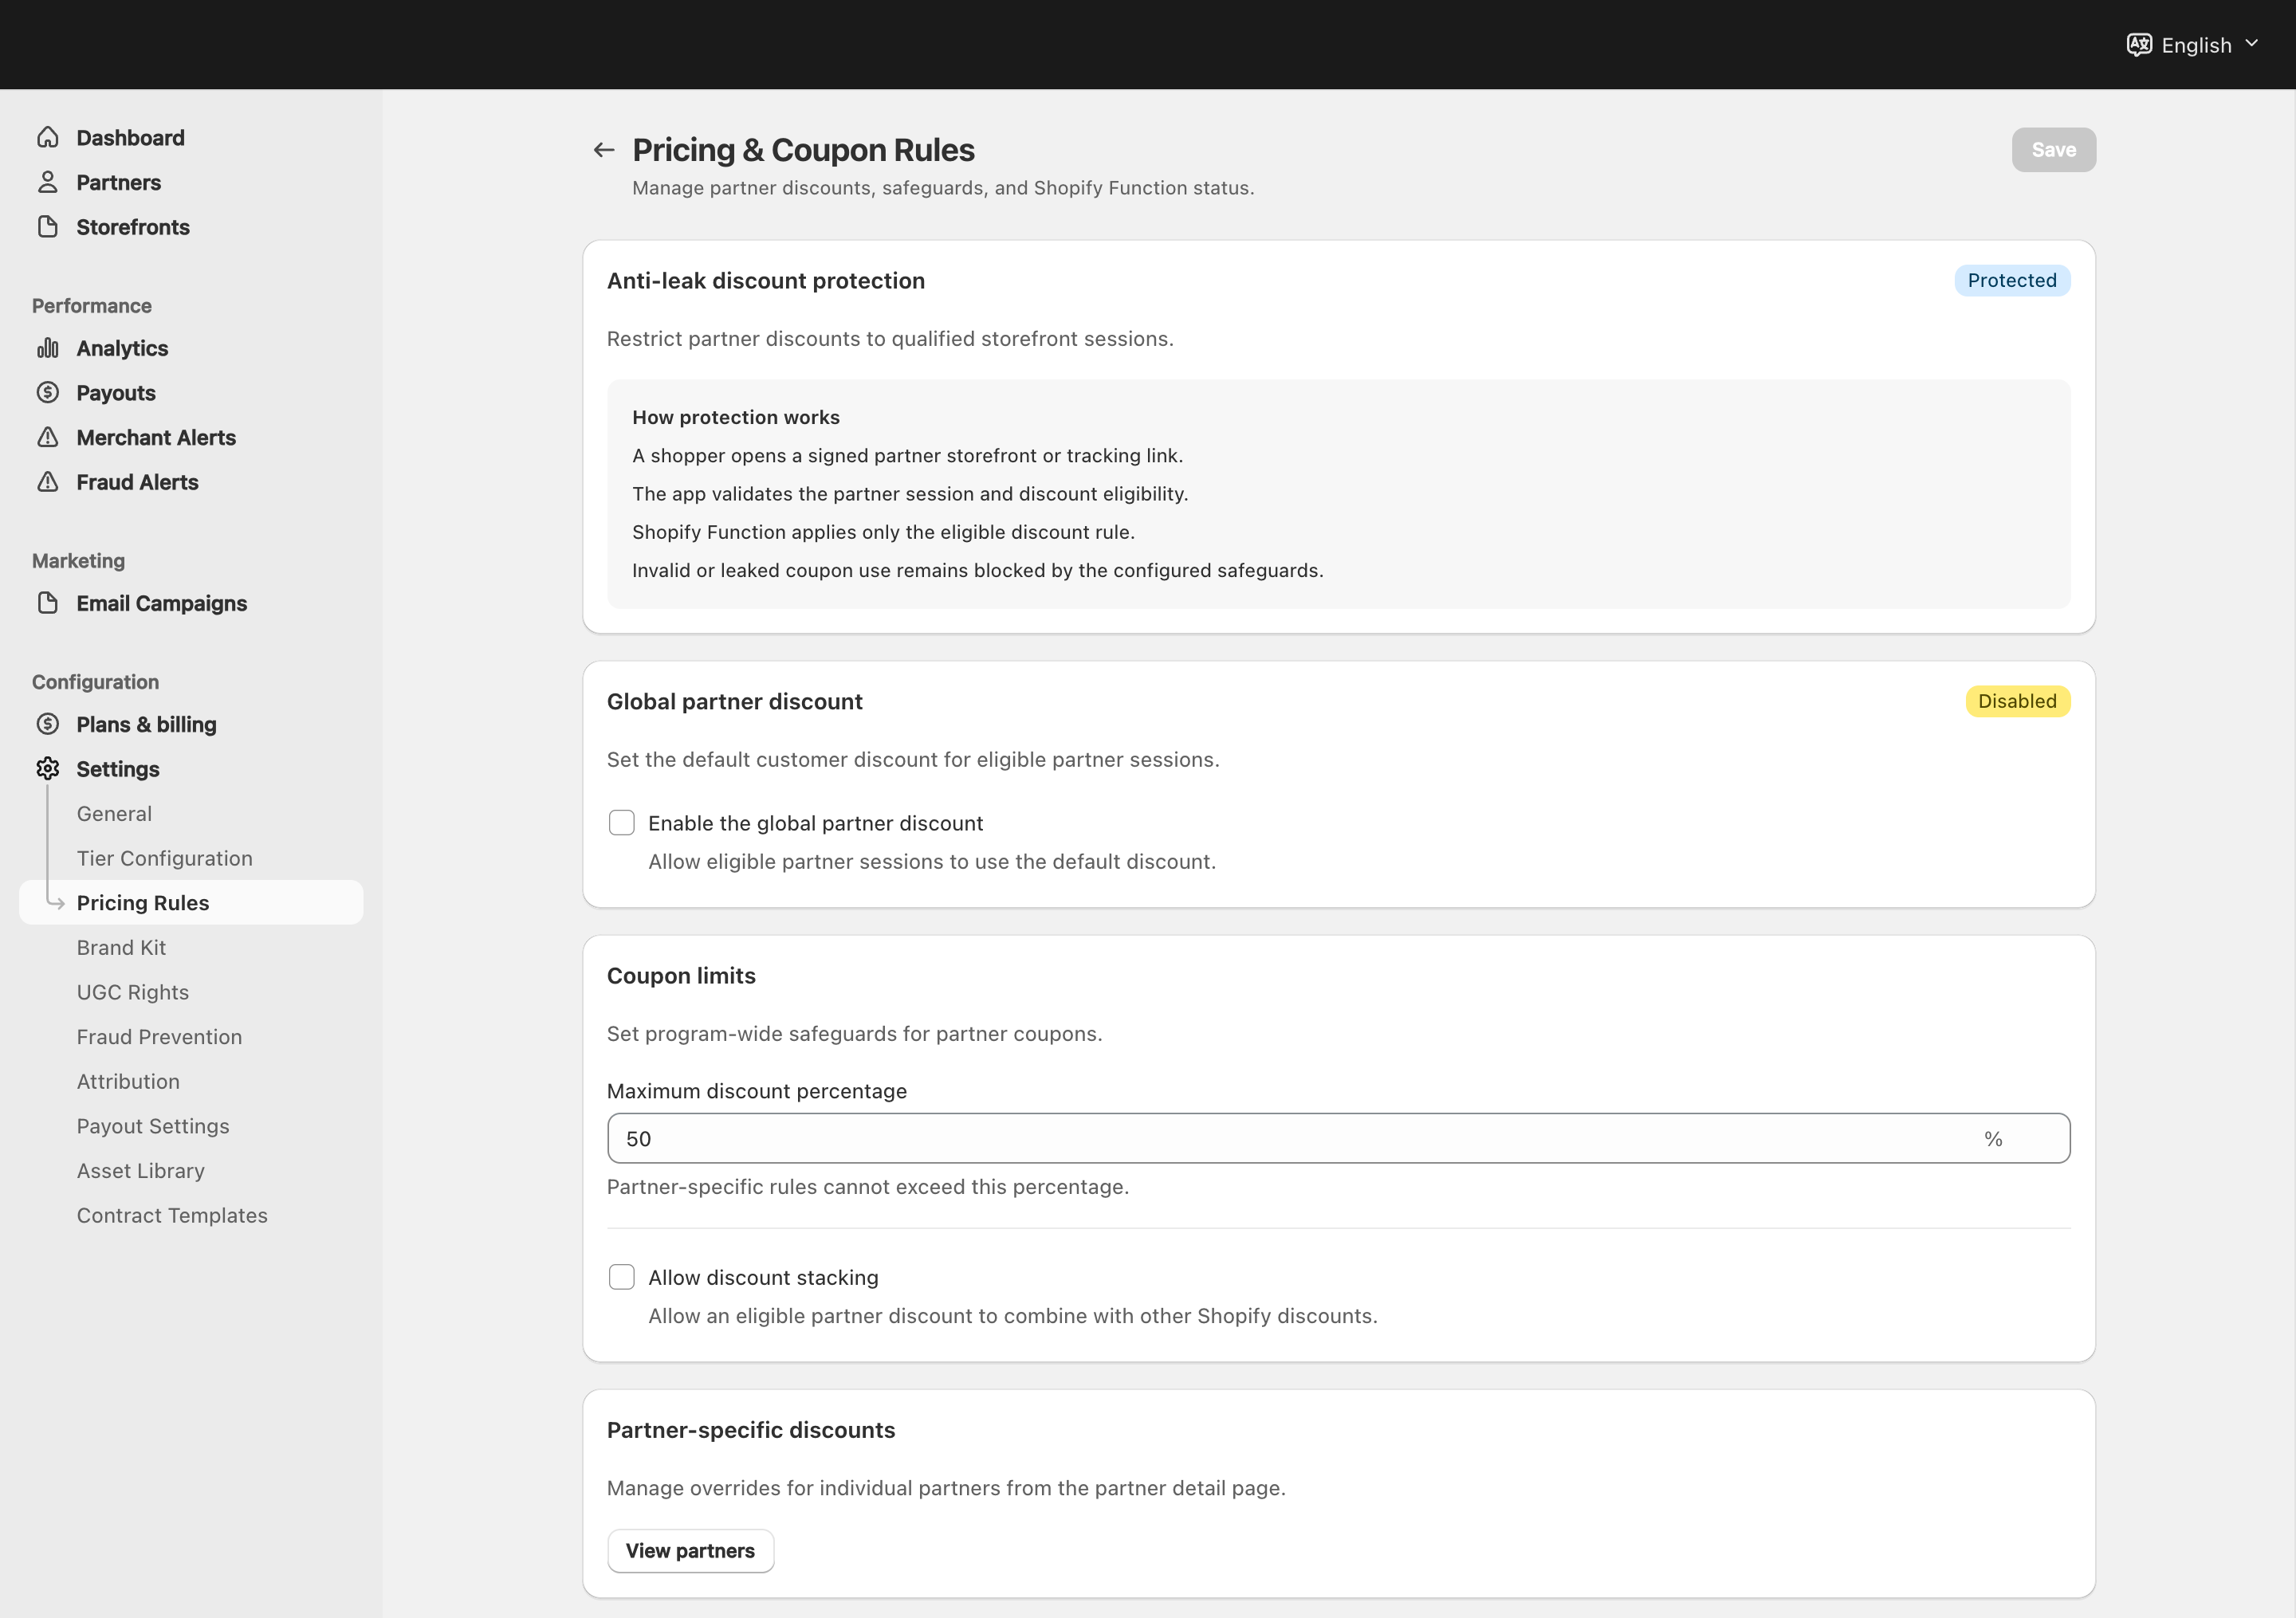
View full-size image: Pricing and coupon safeguards
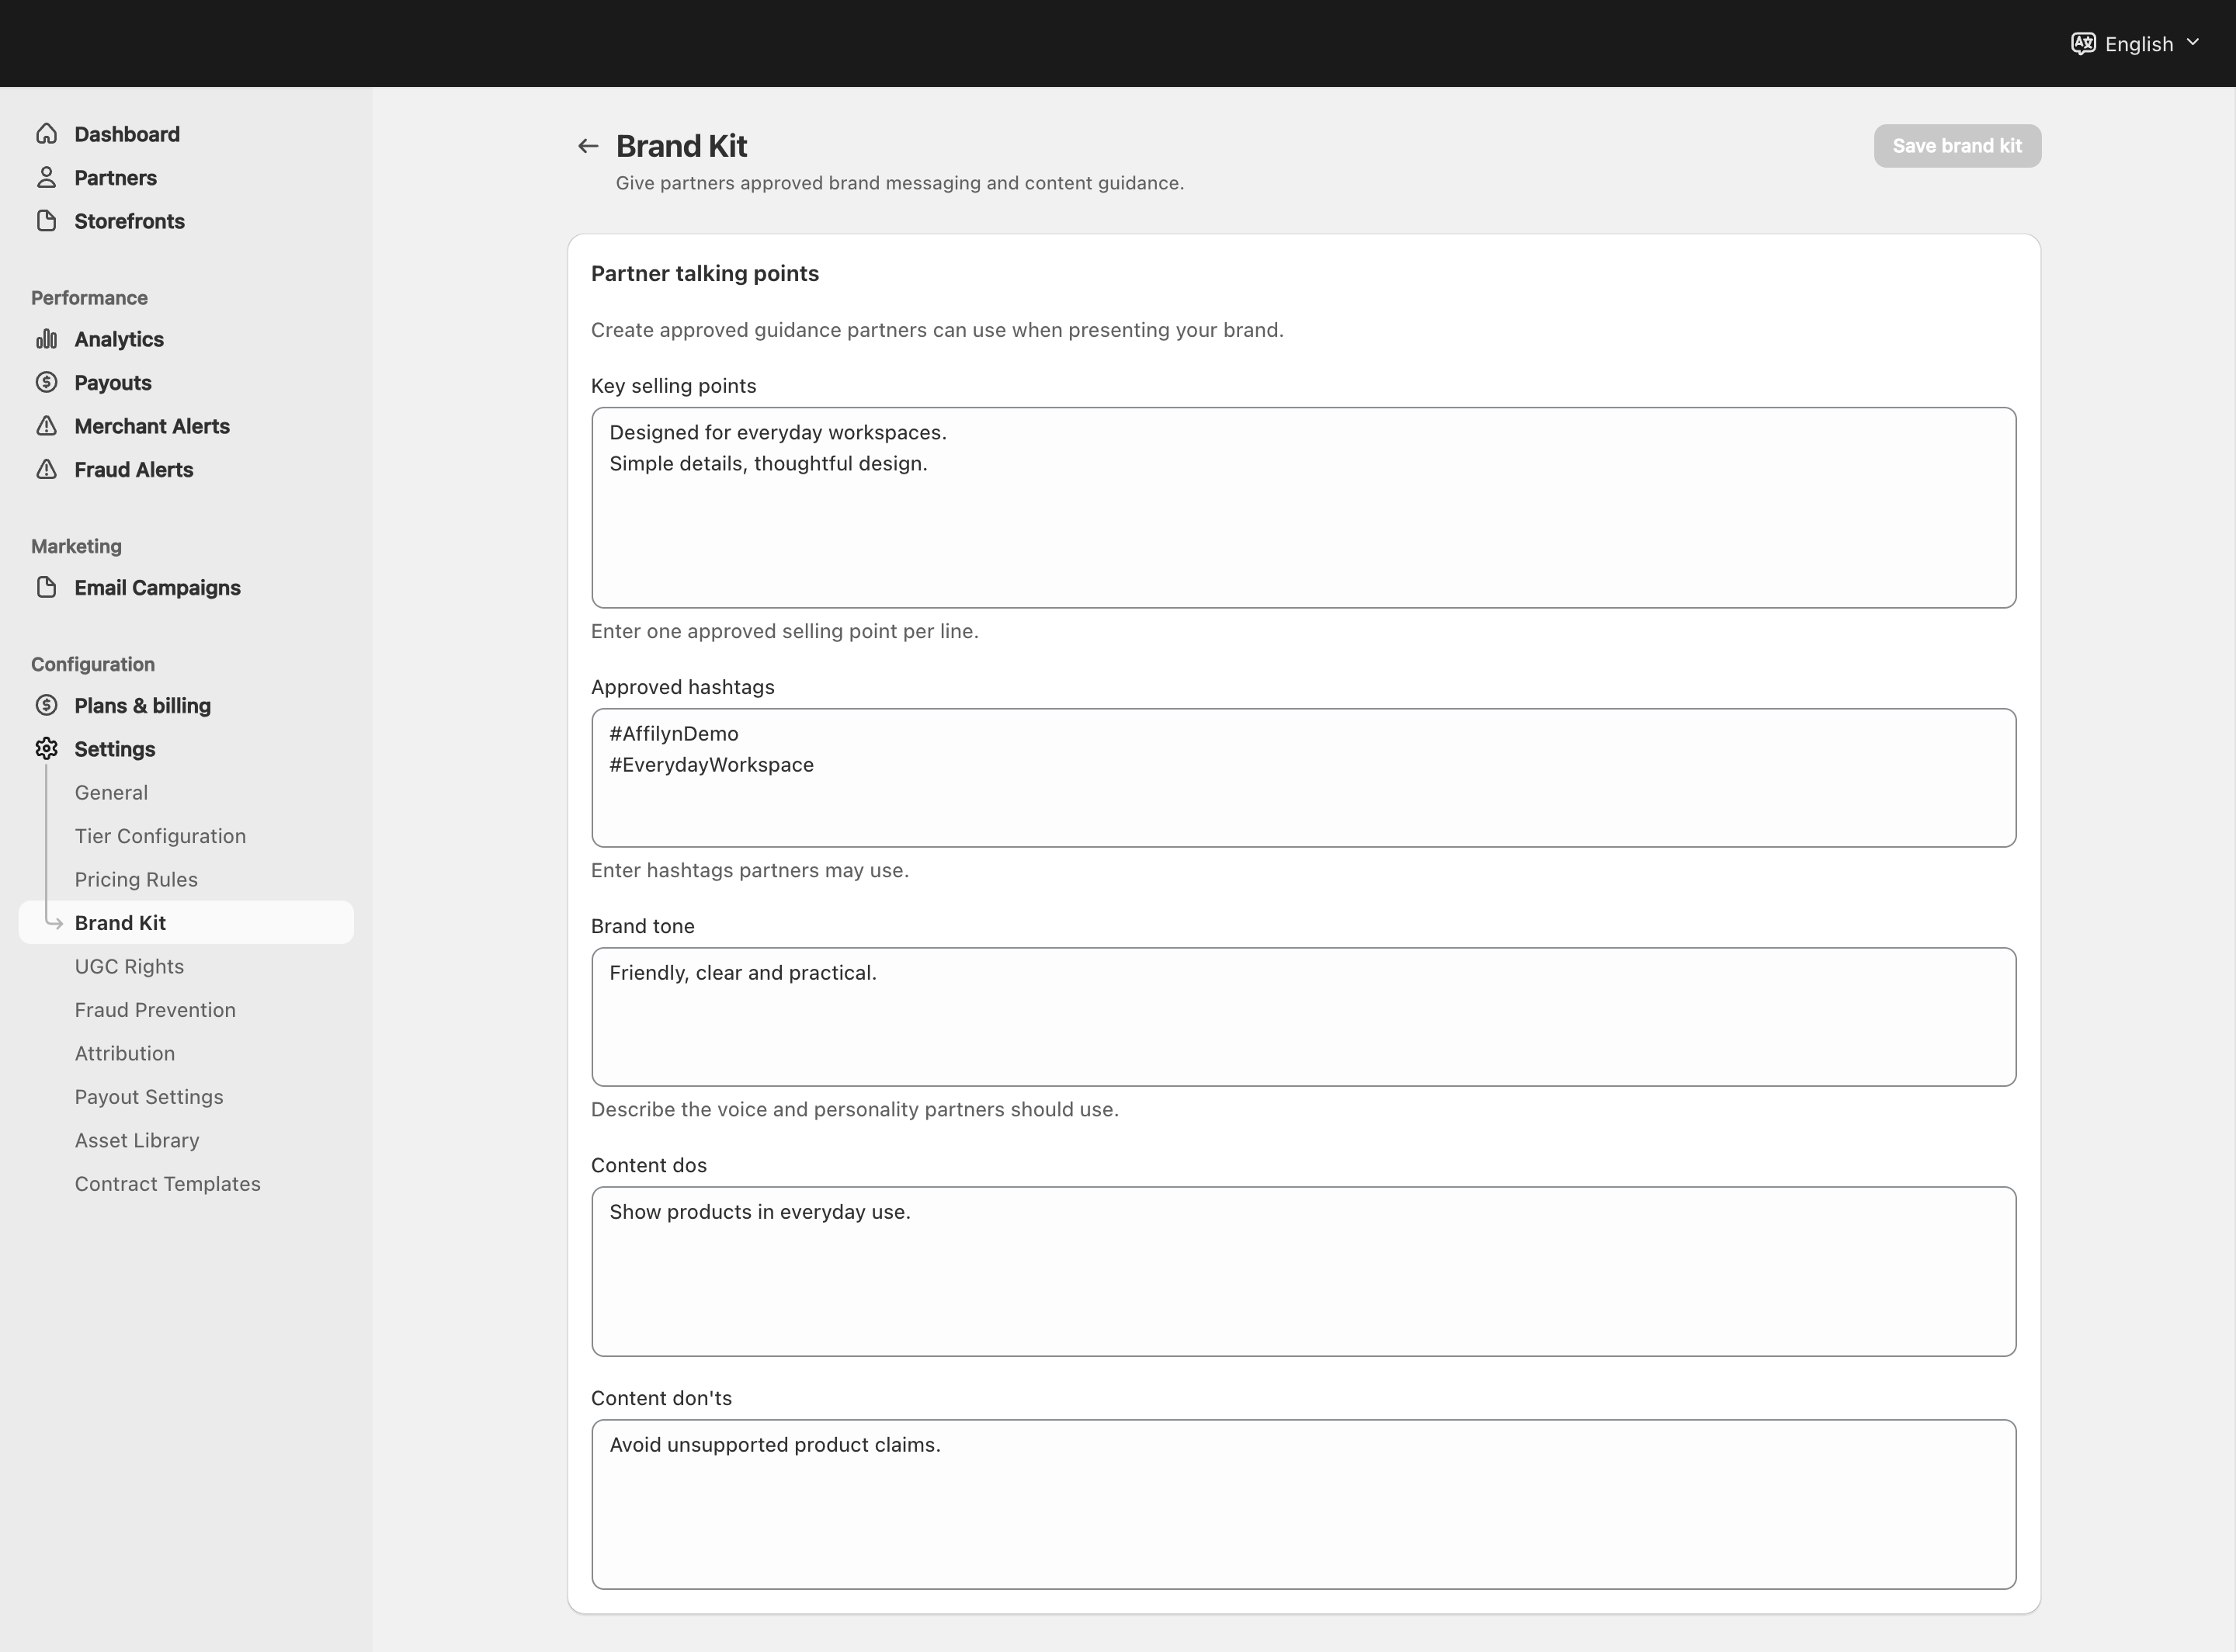
View full-size image: Brand messaging fields
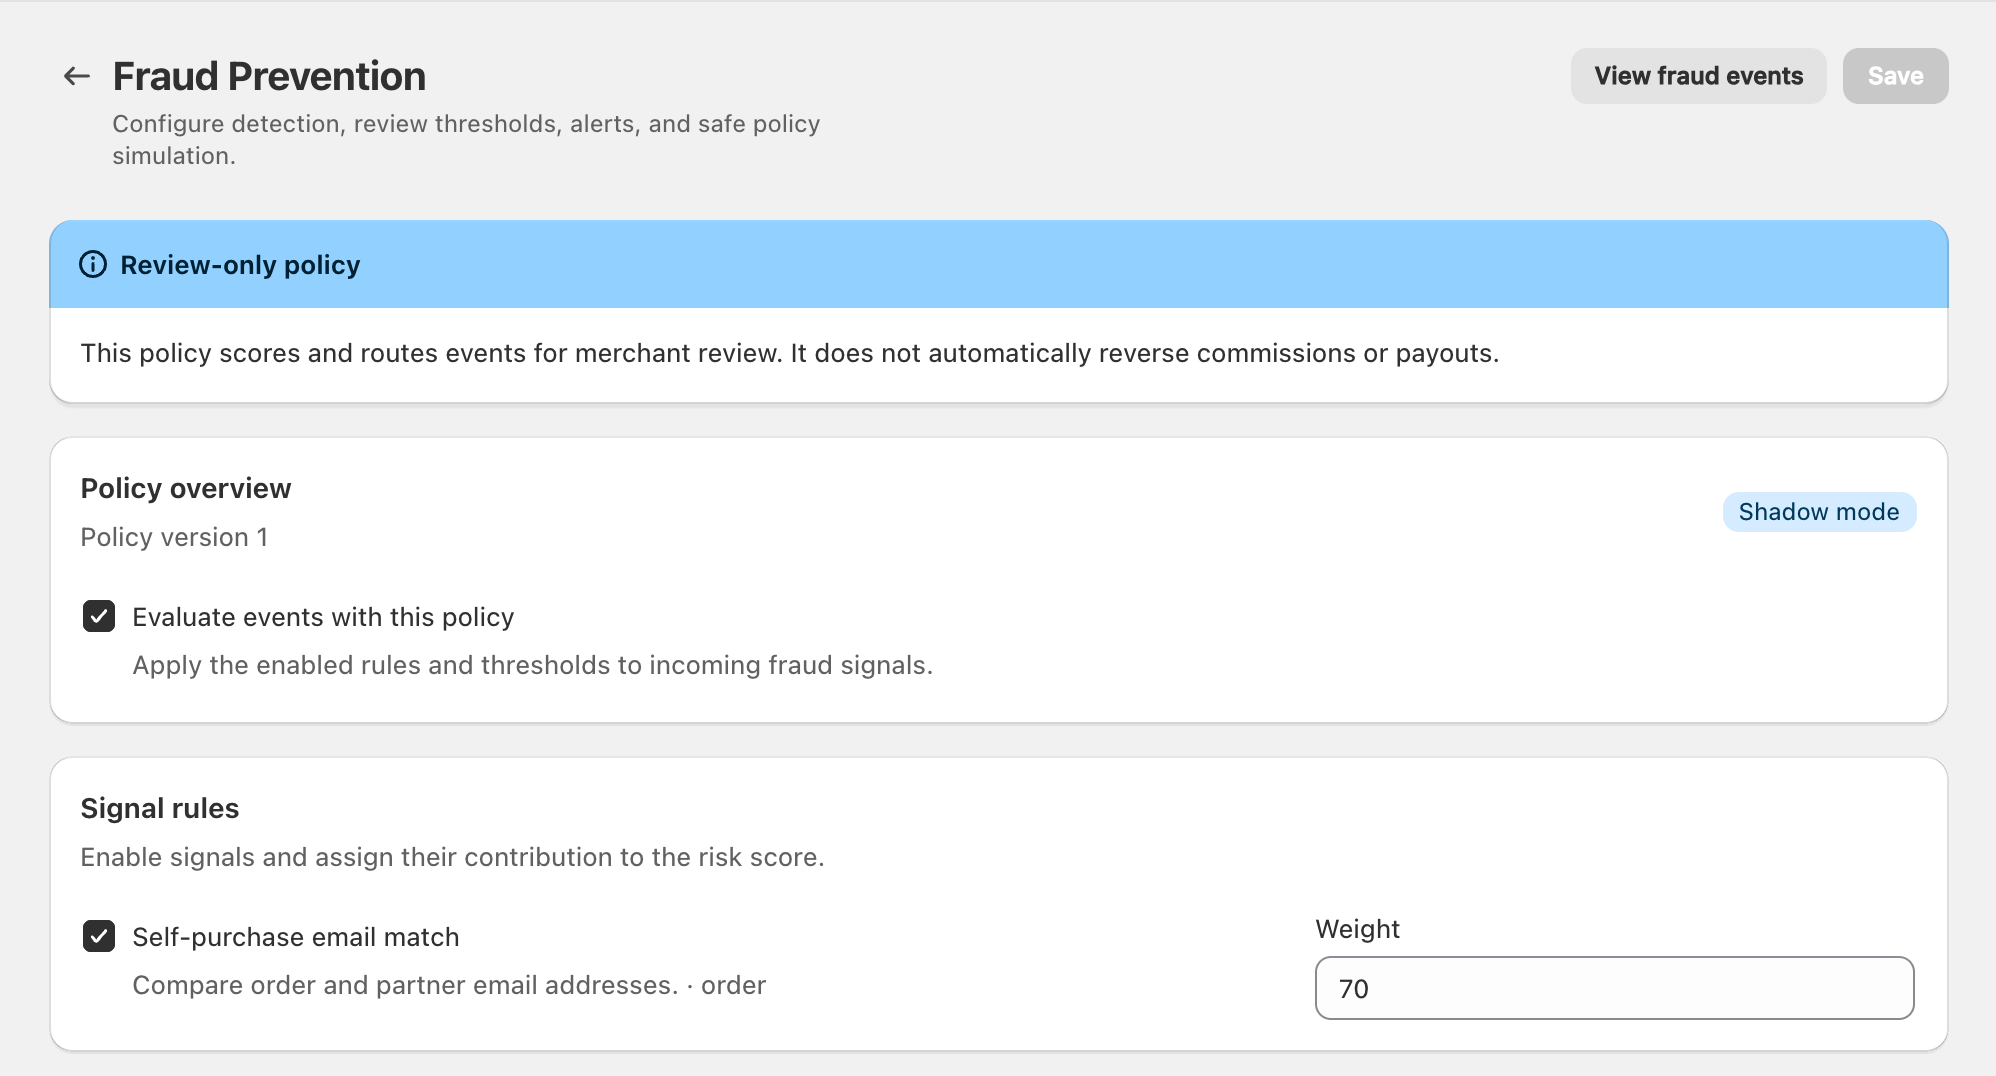
View full-size image: Fraud policy overview and signals
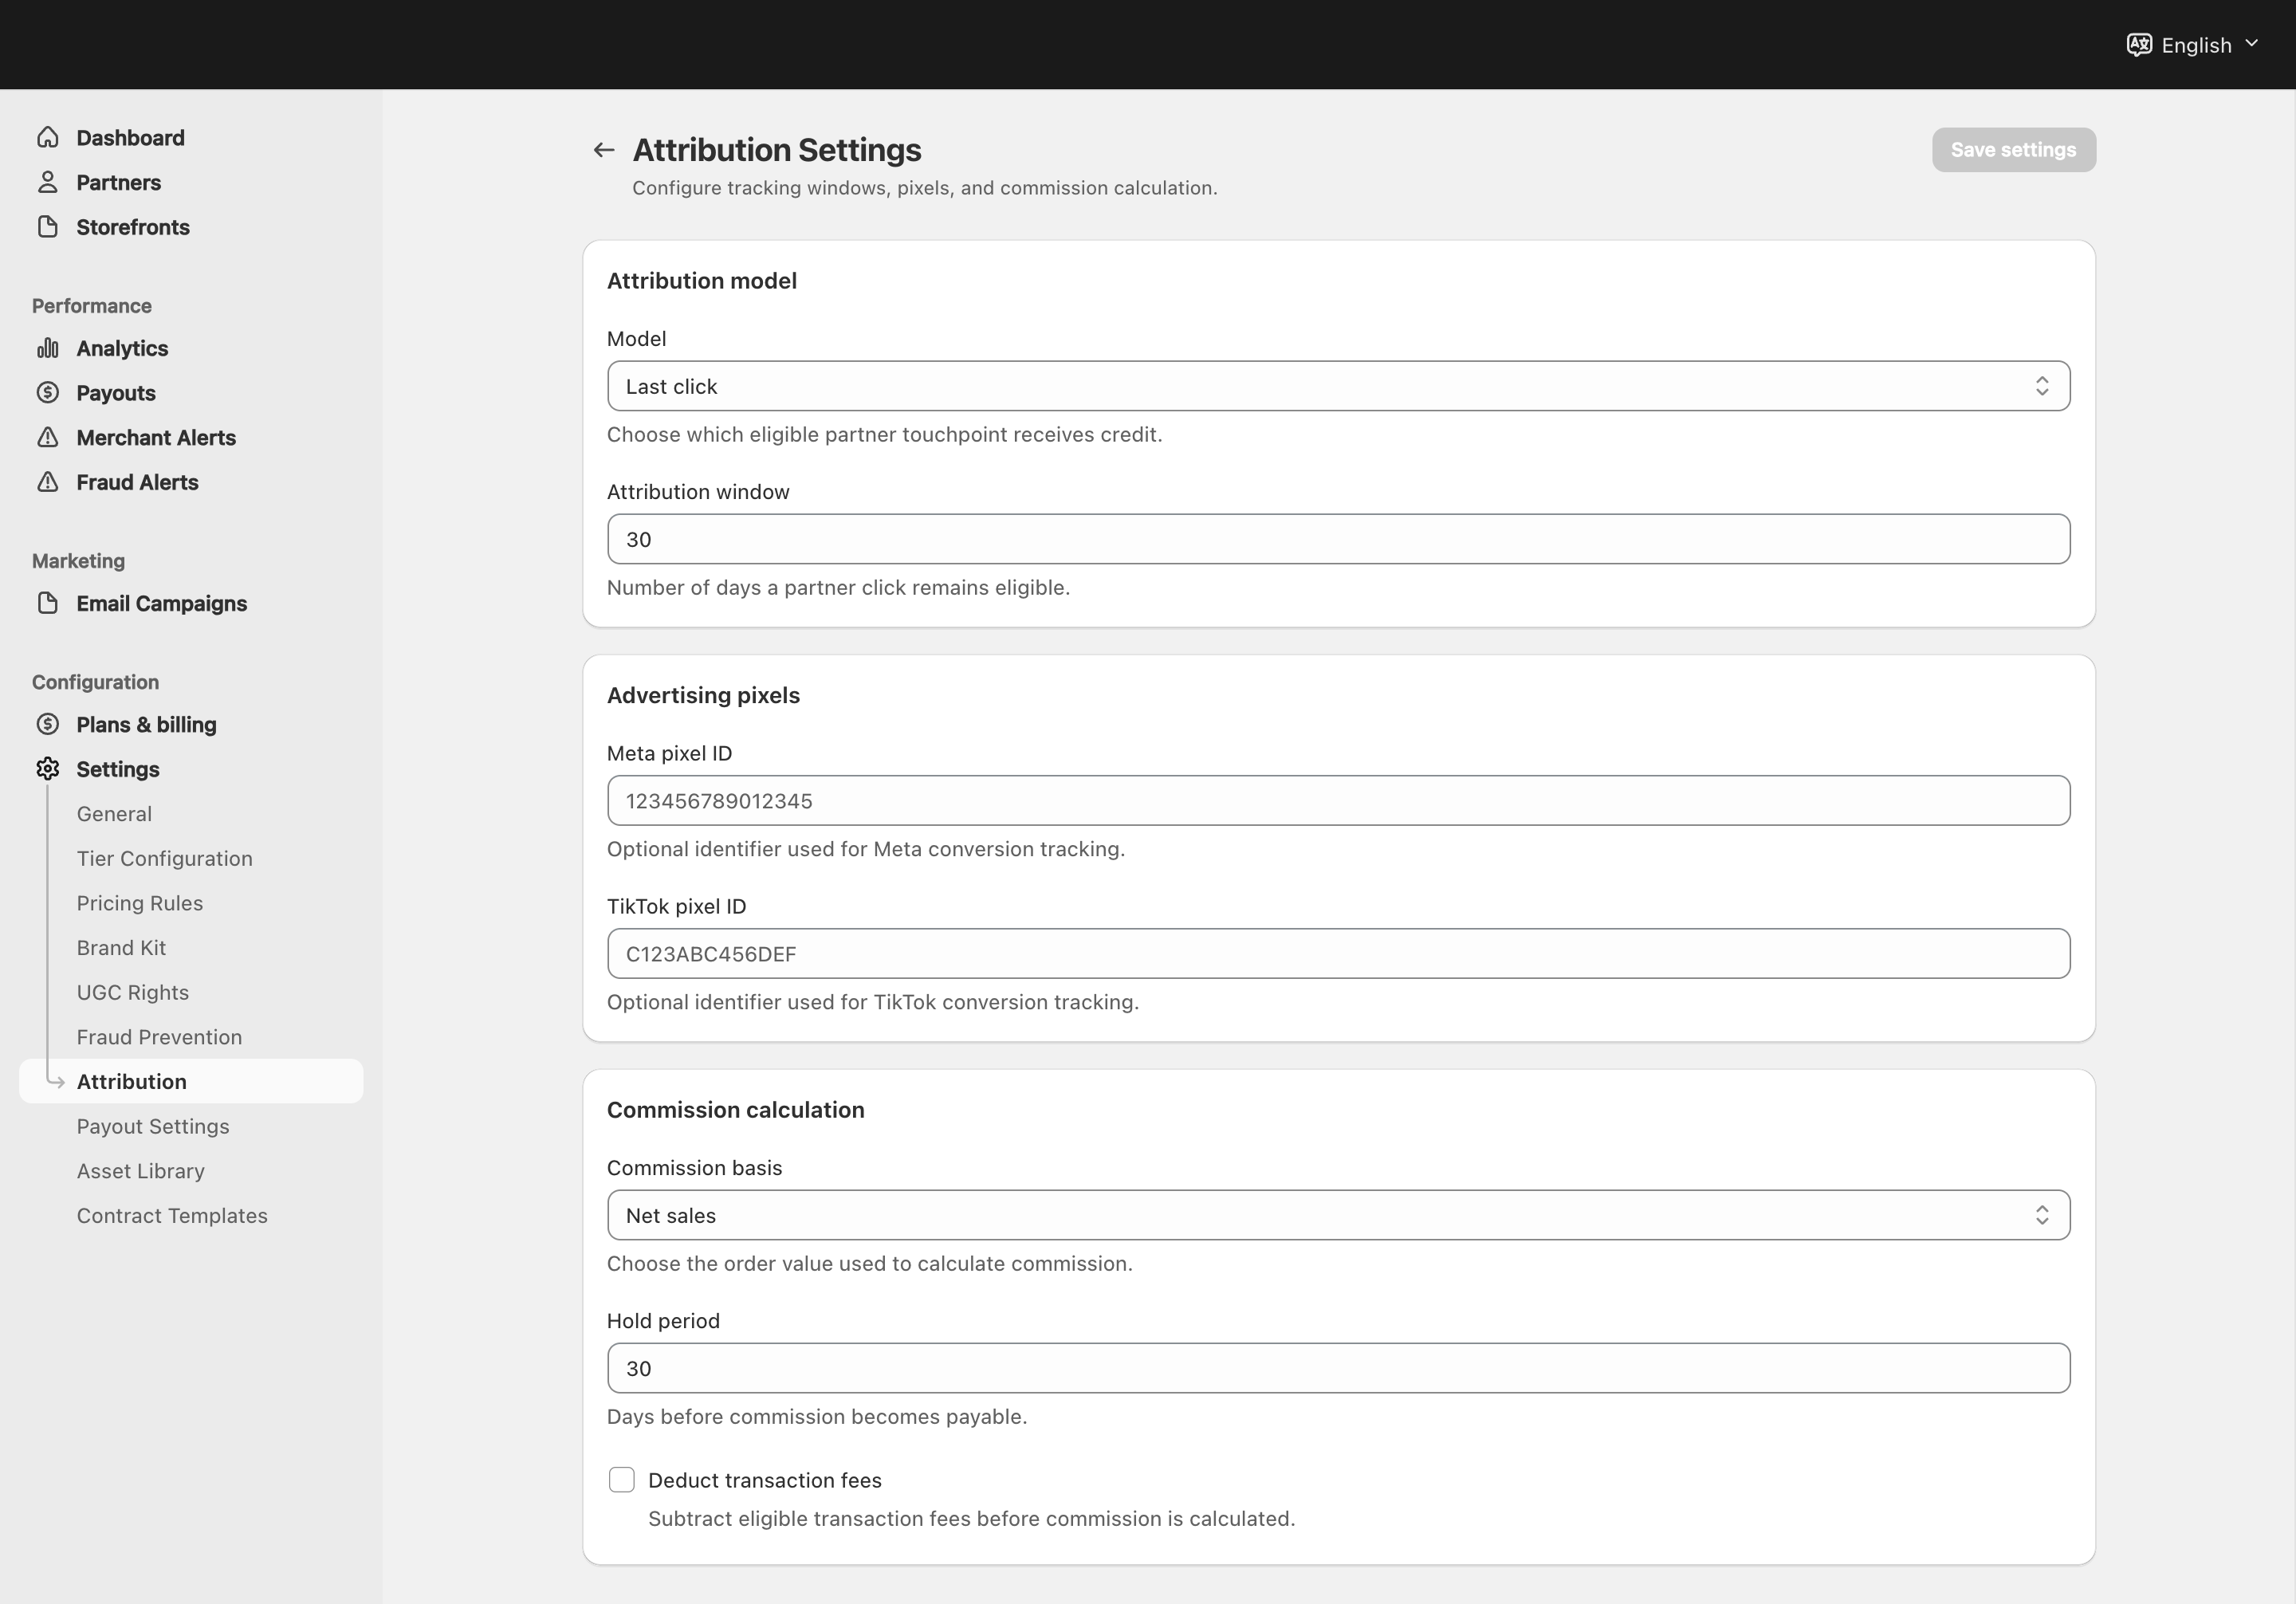
View full-size image: Attribution and commission calculation
Step 1.
Open Settings → General and confirm your business profile details.
Step 2.
Open Settings → Application Settings and decide whether partners can apply directly.
Step 3.
Open Settings → Tier Configuration and define names, rates, feature access, and promotion logic.
Step 4.
Open Settings → Pricing Rules to manage storefront discount behavior.
Step 5.
Open Settings → Brand Kit and UGC Rights to define content guidance and usage permissions.
Step 6.
Open Settings → Fraud Prevention and Attribution to tighten tracking and operational safeguards.
Settings explained
- General stores the business basics that support communication and identity.
- Application Settings controls application enablement, admin-side notification routing, and application-form settings.
- The storefront application CTA is published separately in Shopify Theme Editor with Partner Apply Button and Partner Application Modal.
- Tier Configuration controls names, commission rates, access rules, and promotion thresholds.
- Pricing rules control global discount behavior and discount guardrails.
- Brand kit gives VIP partners approved talking points and content direction.
- UGC rights stores the default consent language for partner content usage.
- Fraud prevention reduces risky orders or attribution abuse.
- Attribution defines how partner influence is measured and how long it stays active.
Example
A merchant renames Tier 2 to VIP Partner, turns on automatic promotion, enables public applications in Application Settings, publishes the storefront application button, and then adds brand talking points so new applicants and approved partners receive consistent guidance.
Tips and limits
- This page is an overview. Use the detailed settings pages when you need exact field-by-field guidance.
- Change tier rules carefully because they affect partner access and expectations.
- Review pricing and attribution together when you update commission logic or discount rules.
- Enabling Application Settings does not place the public application button for you. Theme Editor placement is still required.