MerchantGuide
Email Sync
Connect supported email providers and control which profile and order details are synced for campaign workflows.
Last reviewed: Apr 30, 2026UI path: Merchant sidebar → Settings page → Email Sync
Before you start
- Know which email provider you want to use before turning sync on.
Where to find it
Merchant sidebar → Settings page → Email Sync
Steps
ScreenshotSteps 1-5
Local image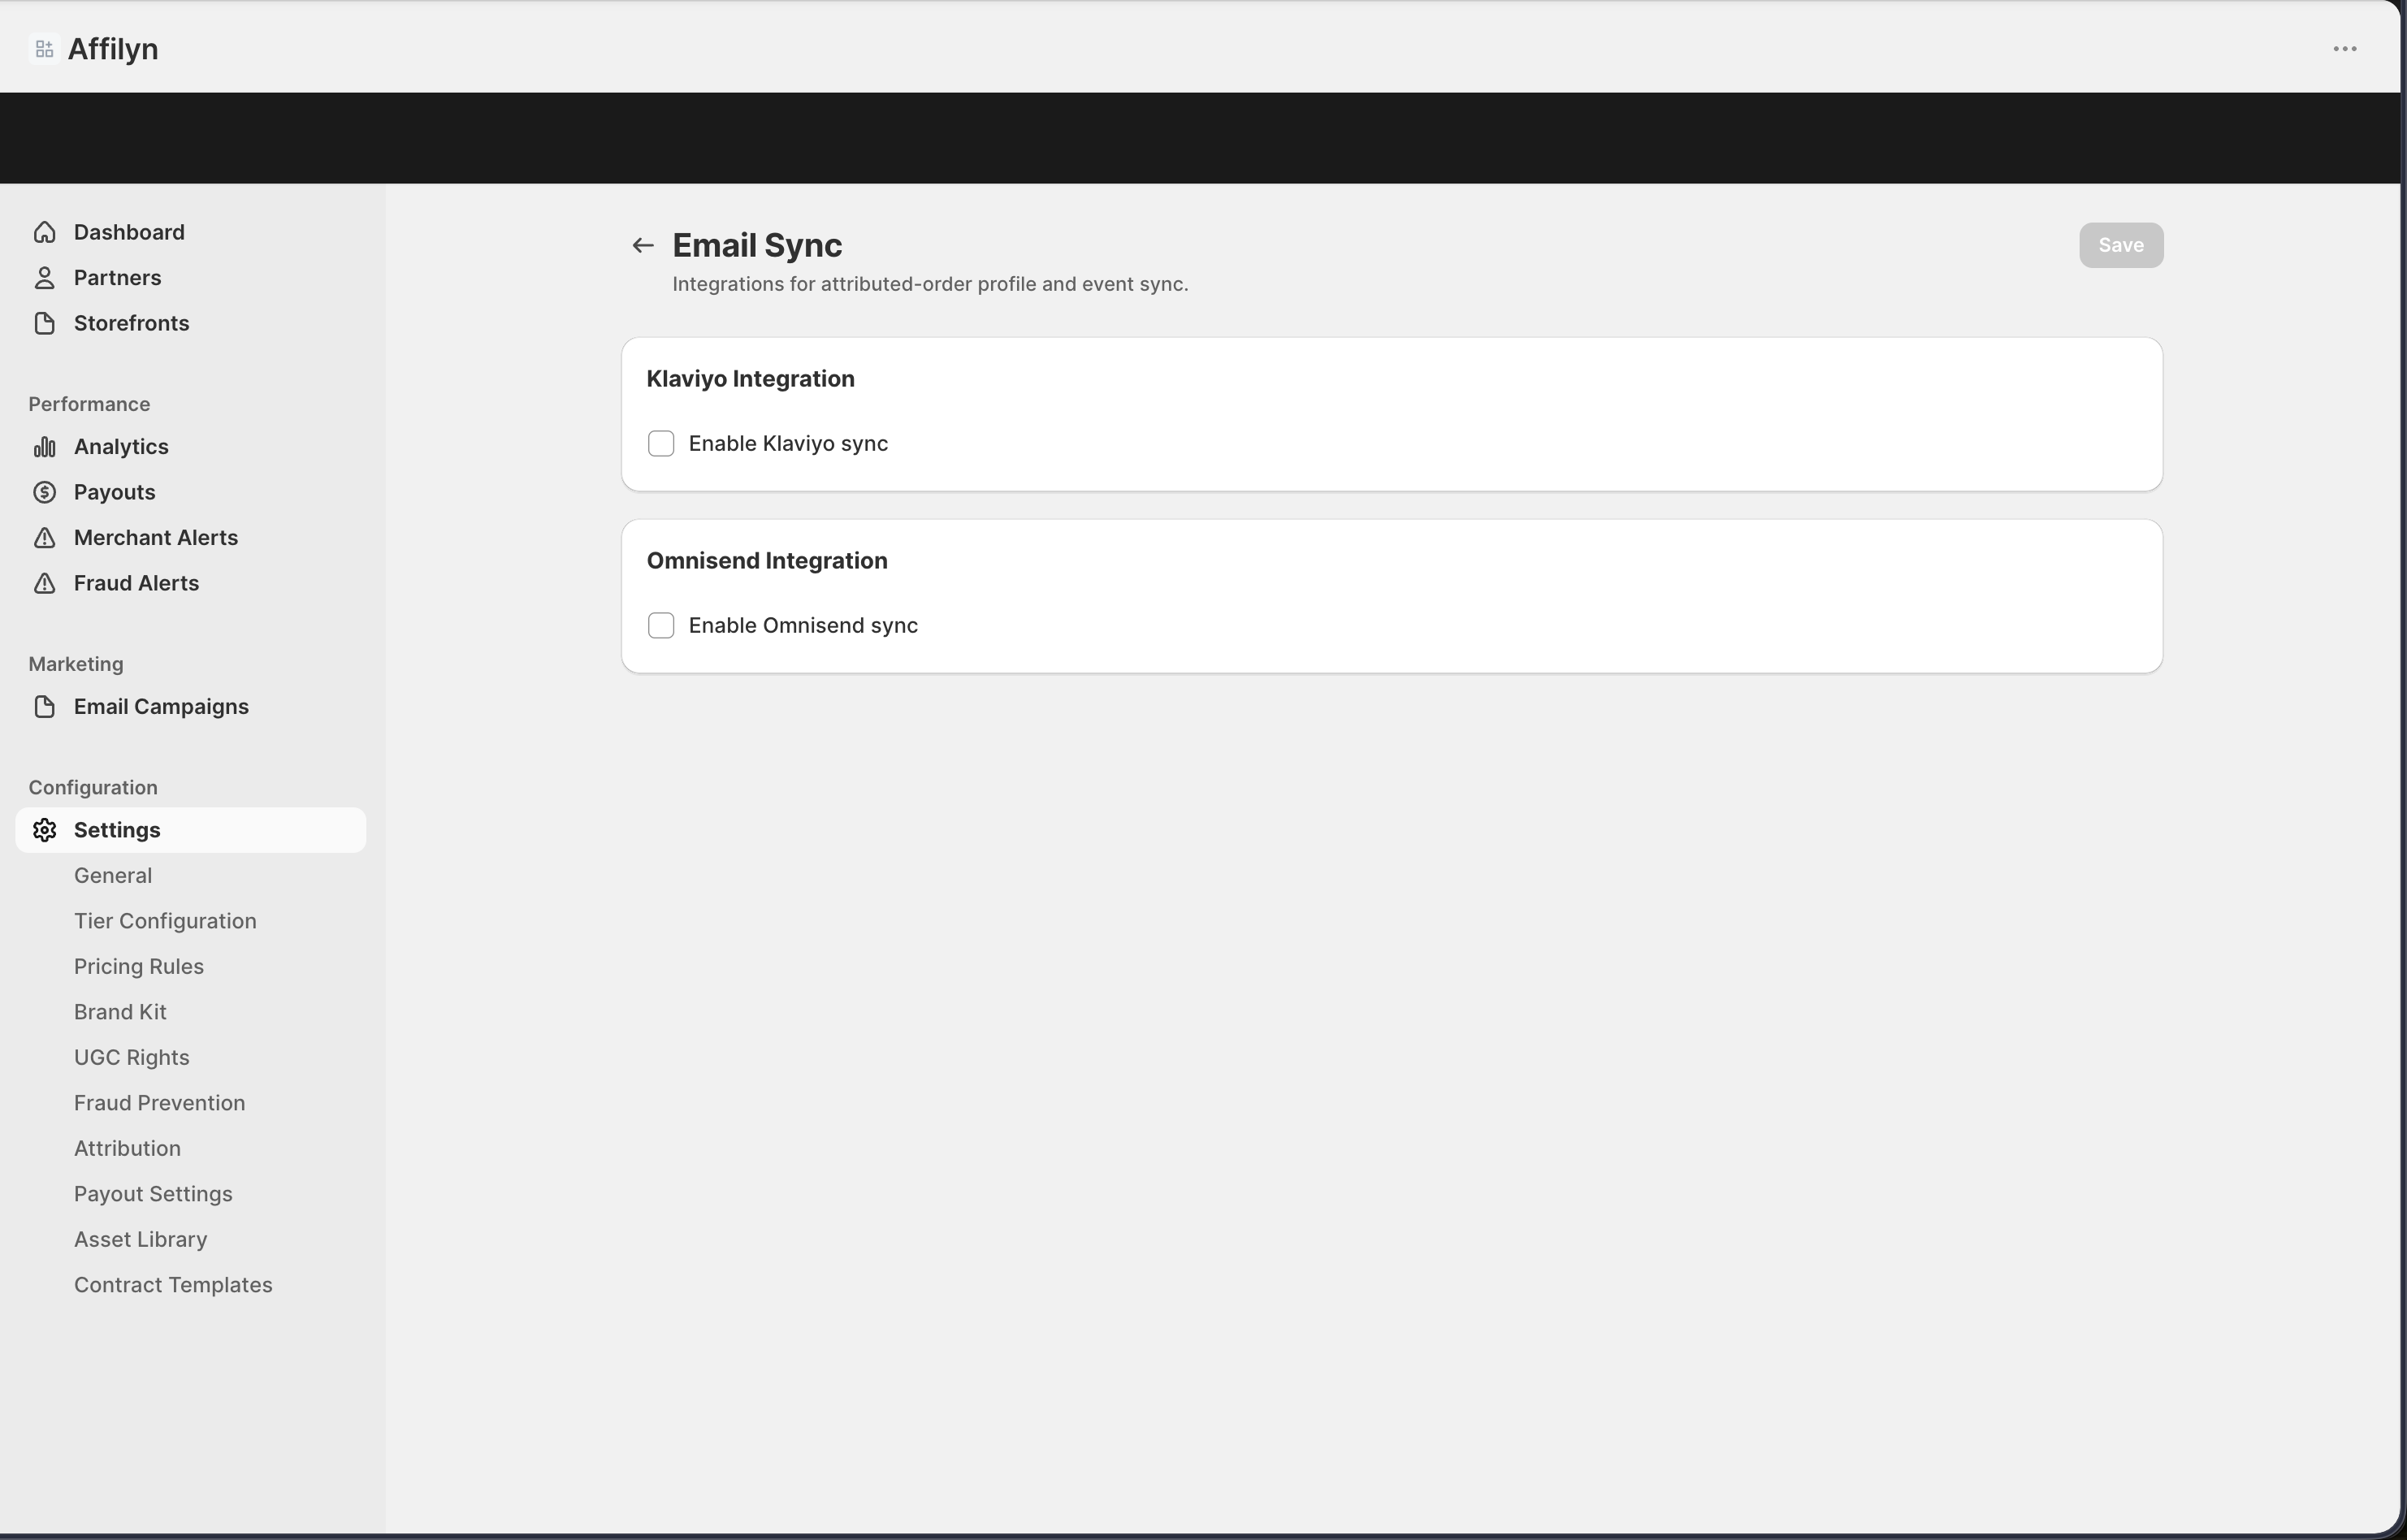
Step 1.
Open Settings, then select Email Sync.
Step 2.
Choose the provider section you want to use.
Step 3.
Turn the provider on only after the connection details are ready.
Step 4.
Review the audience or list field shown for that provider.
Step 5.
Choose whether profile properties and order events should sync.
Step 6.
Save the page, then review campaigns or audience workflows afterward.
Settings explained
- Enabled controls whether the provider is active for sync.
- Connection details are the account fields needed for that provider.
- Audience or list decides where synced data should go.
- Profile properties keep contact details aligned.
- Order events support marketing activity based on attributed order behavior.
Example
A merchant enables one provider, connects the correct list, keeps profile and order sync turned on, and then returns to Email Campaigns with cleaner audience data ready to use.
Tips and limits
- Turn on only the provider you actually plan to manage.
- Review sync settings after provider changes so campaigns use the right audience source.
- If campaigns feel incomplete, check whether this page is syncing the fields you expect.