Asset Library
Upload and organize partner-facing assets so the right files are available to the right audience.
Before you start
- Prepare the logos, banners, product photos, or other files you want partners to access.
Where to find it
Merchant sidebar → Settings → Asset Library
Steps
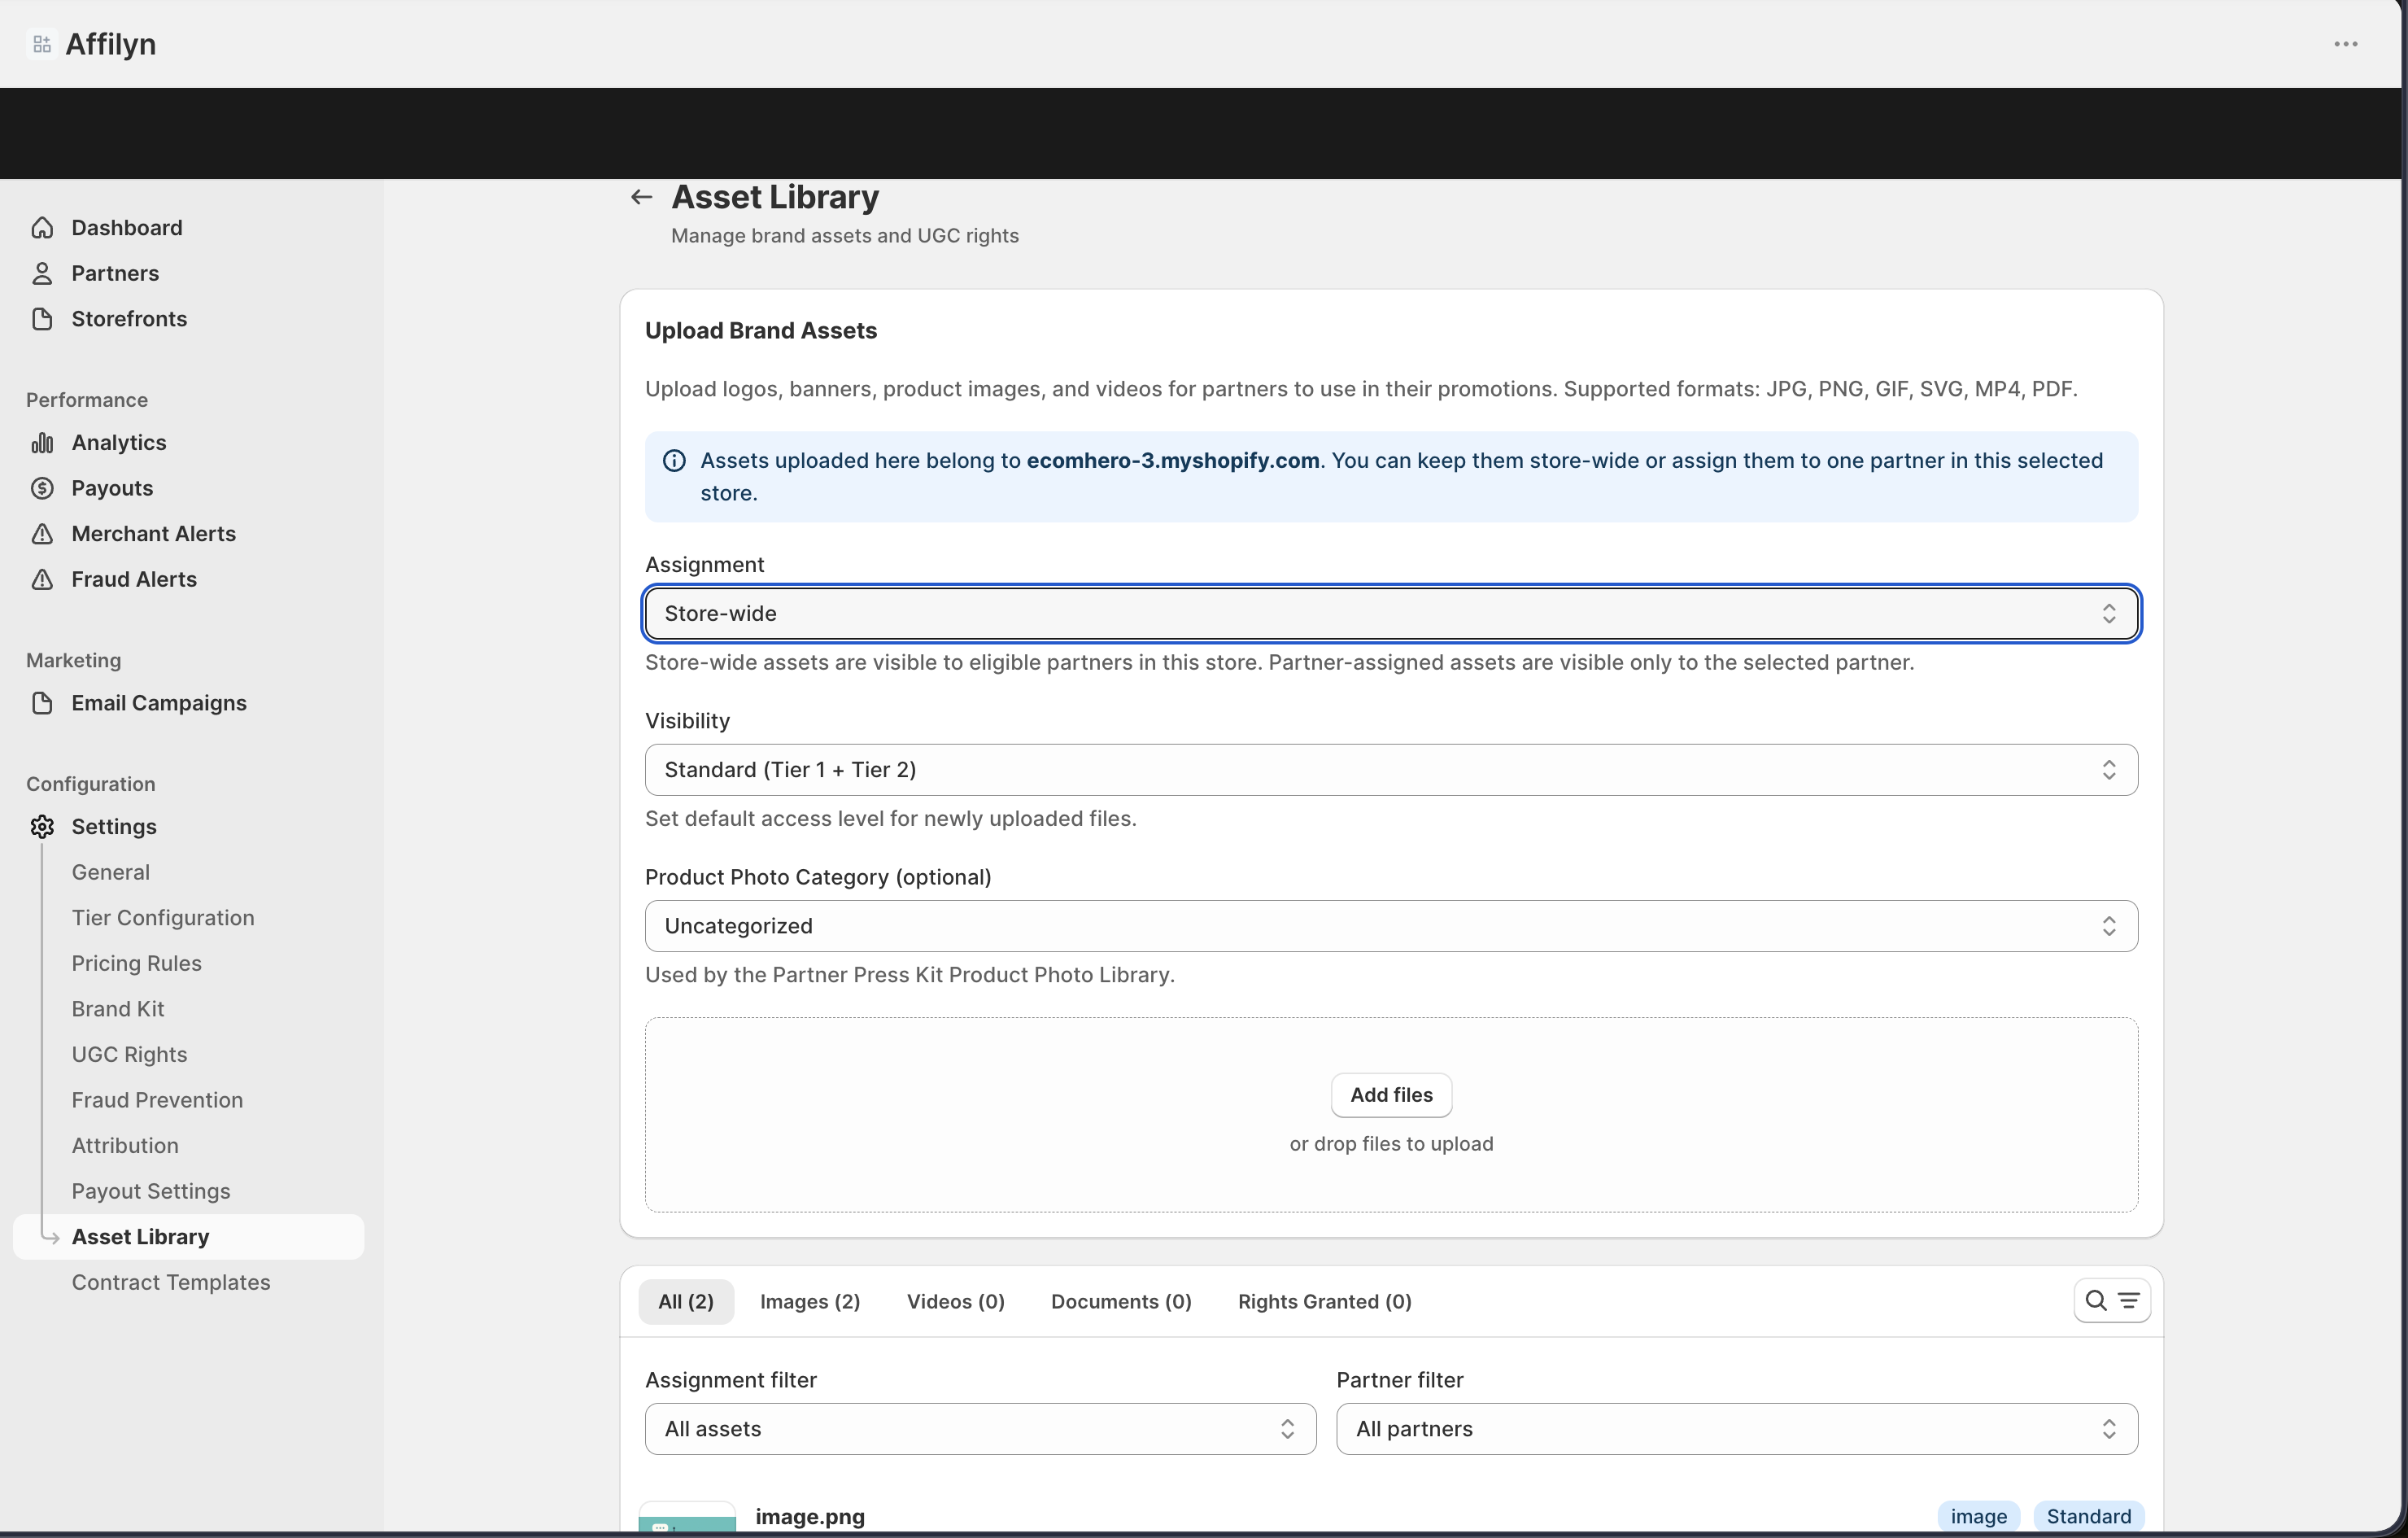
Step 1.
Open Settings → Asset Library.
Step 2.
Upload the file you want partners to access.
Step 3.
Choose whether the upload is store-wide or assigned to one specific partner.
Step 4.
Review the asset details and choose the correct visibility level.
Step 5.
Set the category and optional synced product assignment so product-photo groupings stay accurate.
Step 6.
Mark commercial rights when the asset can be reused in merchant marketing.
Step 7.
Save the item, then confirm it appears where you expect in partner-facing asset areas.
Settings explained
- Assignment scope decides whether the asset is available to eligible partners store-wide or only to one named partner.
- Visibility controls which partner tier can access the asset.
STANDARDis broader access, whilePREMIUMsupports VIP-only content. - Asset category keeps the library organized and feeds product-photo grouping. Product Shot, Flat Lay, Lifestyle, and Detail Close-Up are treated differently in VIP photo libraries.
- Product assignment links an asset to a synced product so SKU-based downloads and product-photo views are more accurate.
- Commercial rights help merchants separate files that can be reused in marketing from files that are view-only or still restricted.
- Partner-facing assets may appear later in dashboards such as the press kit.
Example
A merchant uploads updated brand photography, assigns a few files to one launch partner, maps product shots to synced products, marks commercial-rights assets clearly, and then checks the VIP press kit to confirm the right files appear there.
Tips and limits
- Keep naming and visibility rules consistent so partners do not guess which asset is correct.
- Use product assignments and categories together when you want the VIP product-photo library to group assets cleanly by SKU.
- Remove or replace outdated assets before a major campaign starts.
- If a partner cannot find an asset, check the visibility level first.