
Email campaigns
Build merchant email campaigns with audience targeting, message editing, preview, testing, scheduling, and send reporting.
Before you start
- Review Email Sync settings if you want contact data ready before sending.
Where to find it
Merchant sidebar → Marketing → Email Campaigns
The illustrations show draft editing, test and scheduling controls. Draft field-validation messages, generated previews and delivery results are not pictured.
Steps
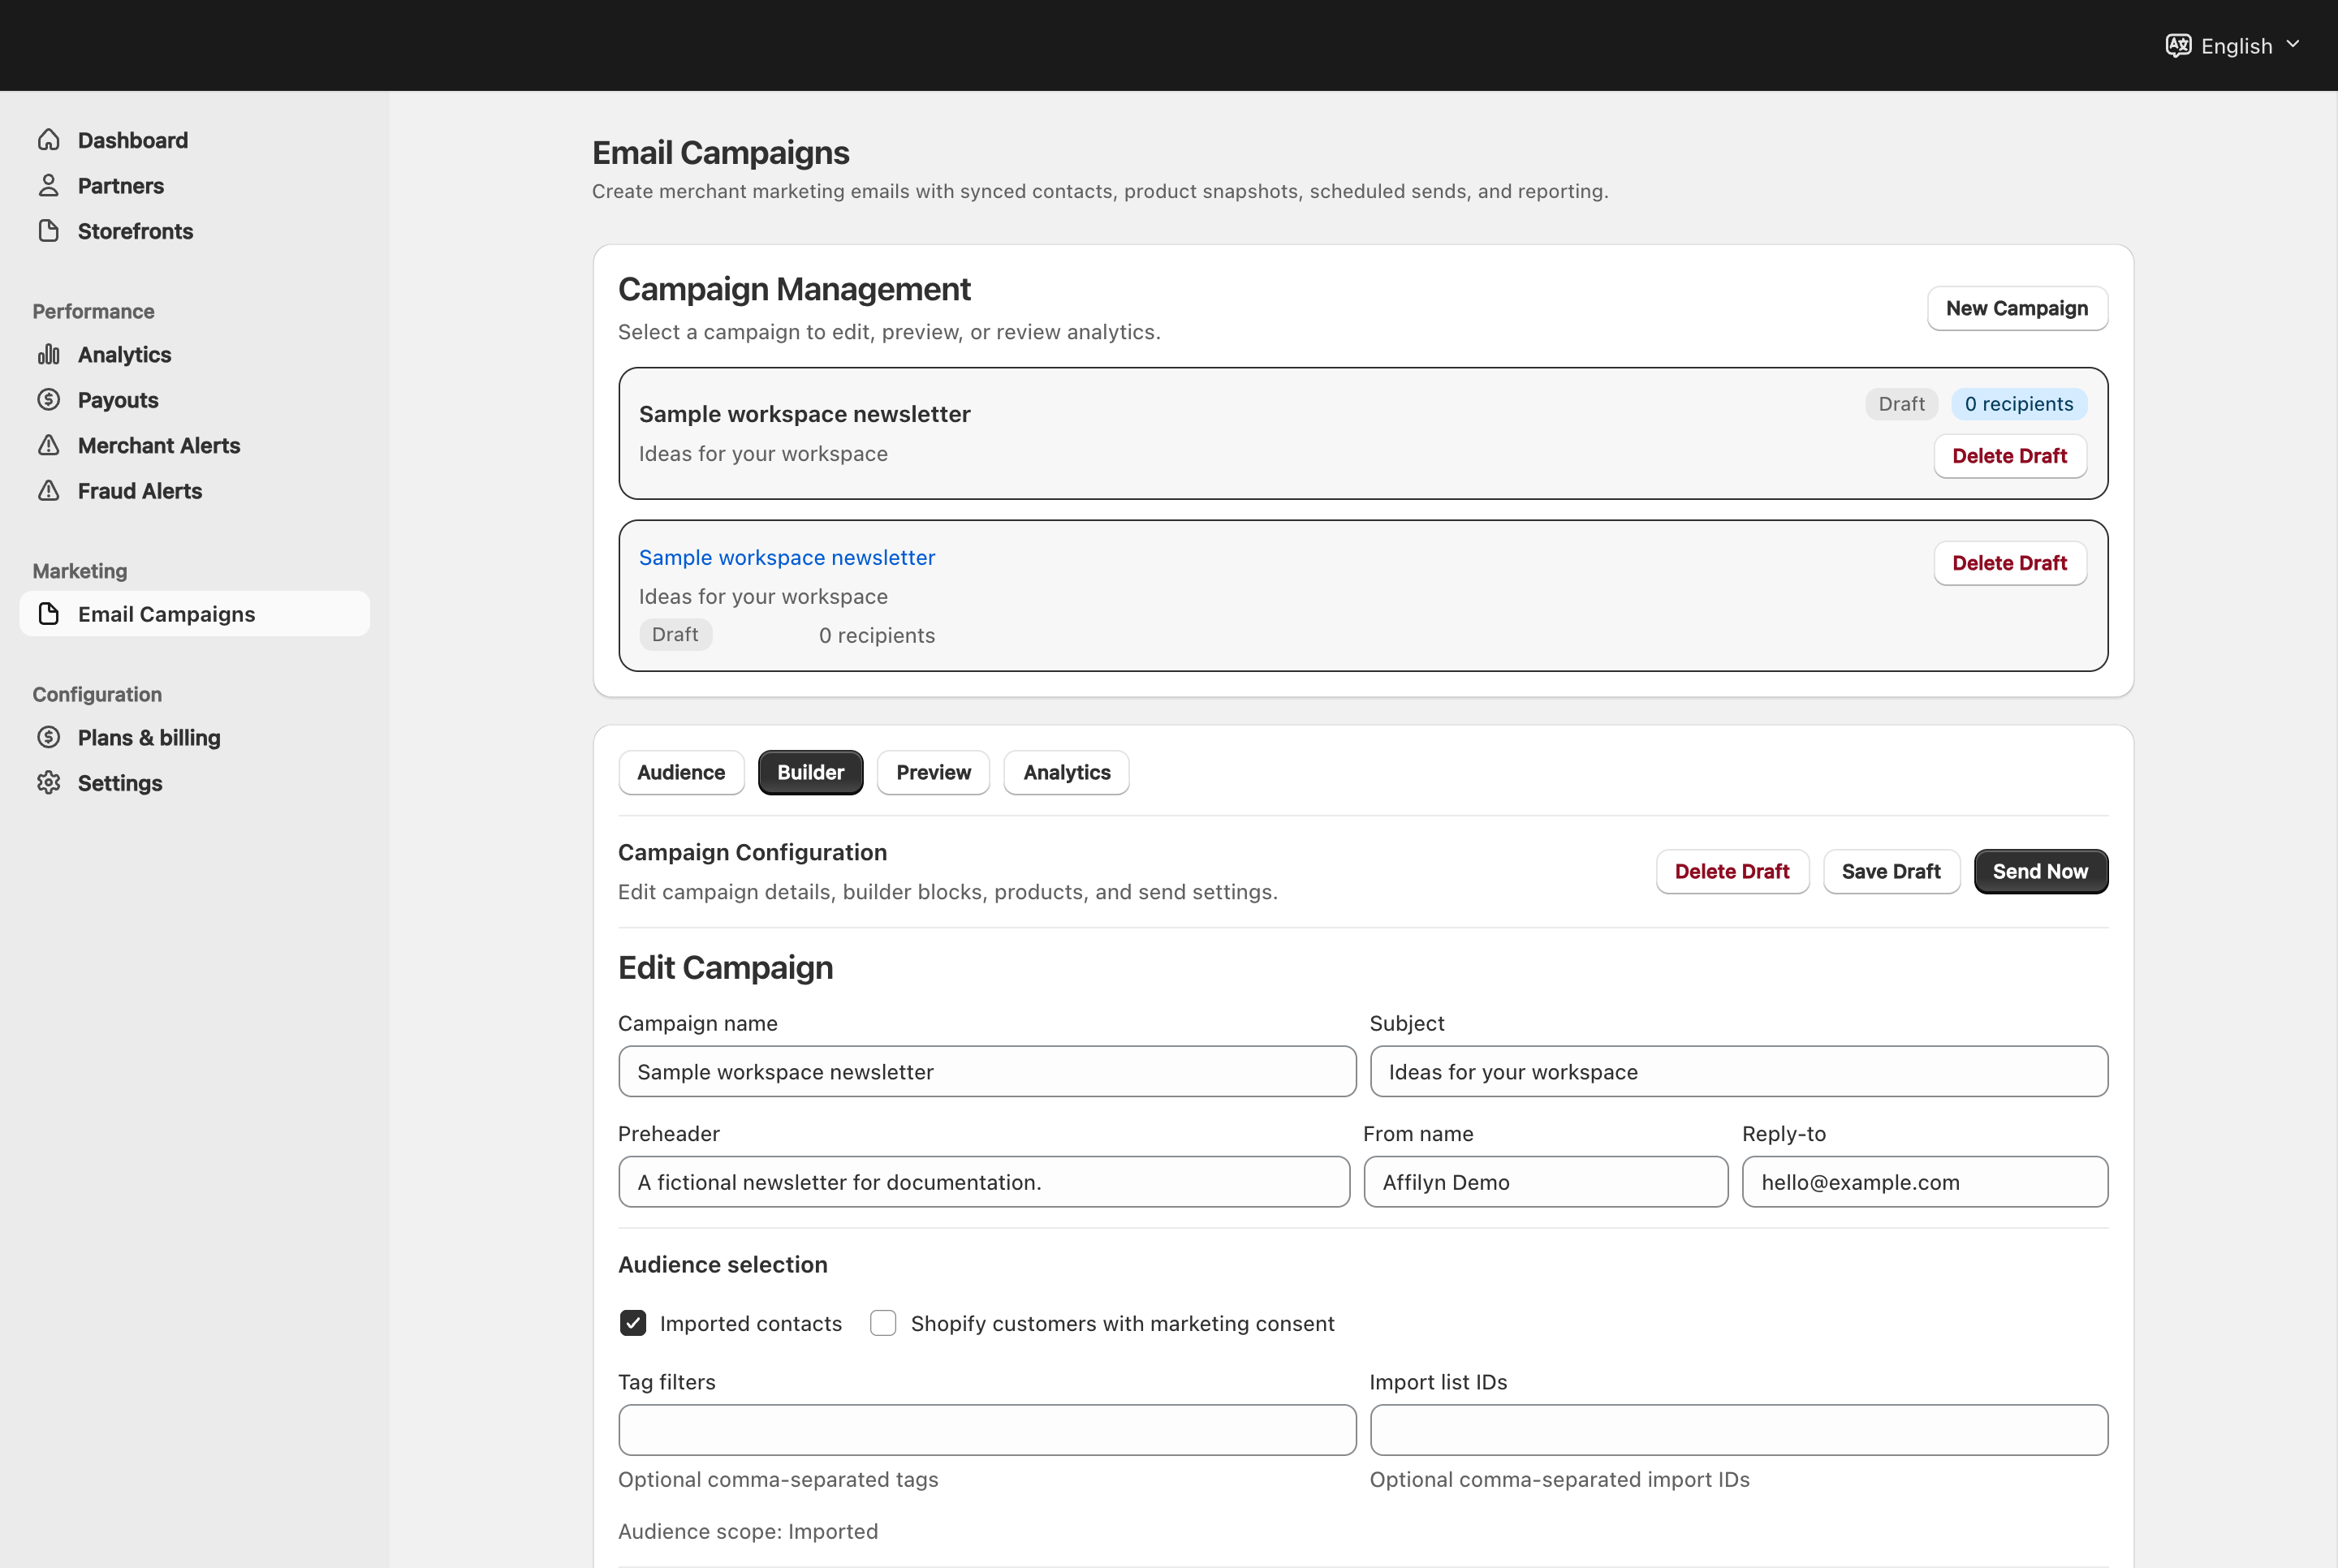
View full-size image: Campaign details and audience
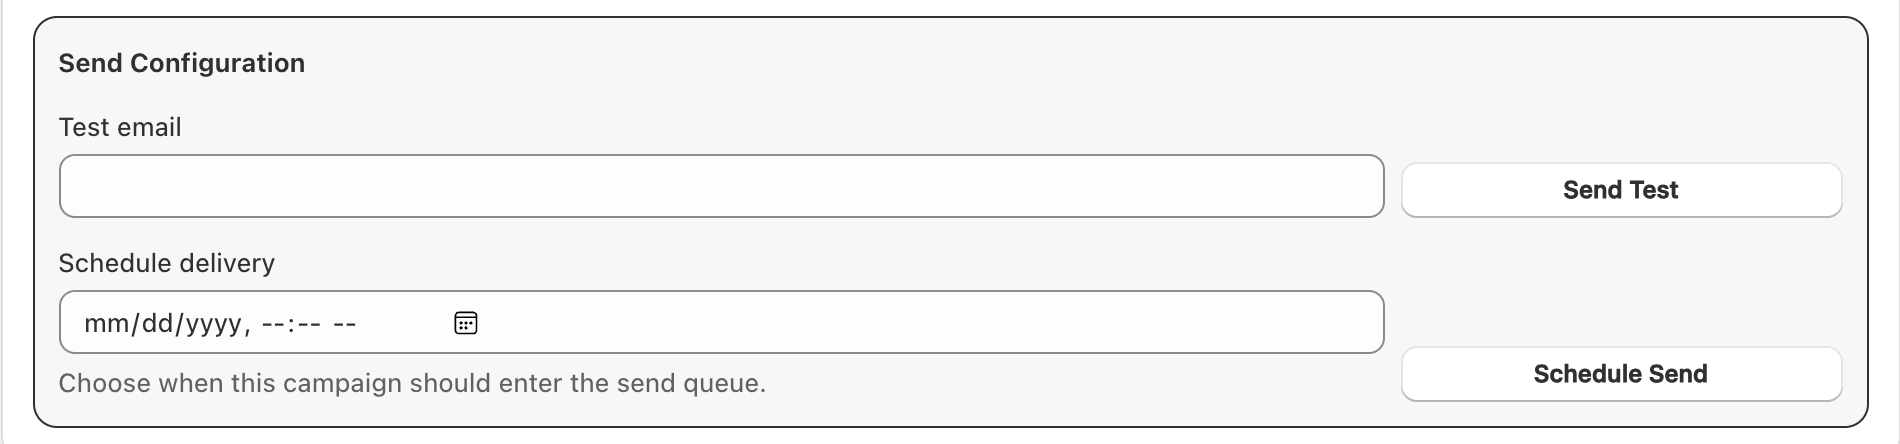
View full-size image: Campaign test and schedule controls
Step 1.
Open Marketing → Email Campaigns.
Step 2.
Choose or review the campaign audience before editing the message.
Step 3.
Build the campaign content and confirm the reply details.
Step 4.
Use the preview step to review the message before sending.
Step 5.
Send a test email if you want to confirm the content first.
Step 6.
Choose Schedule or Send now, then return later to review campaign reporting.
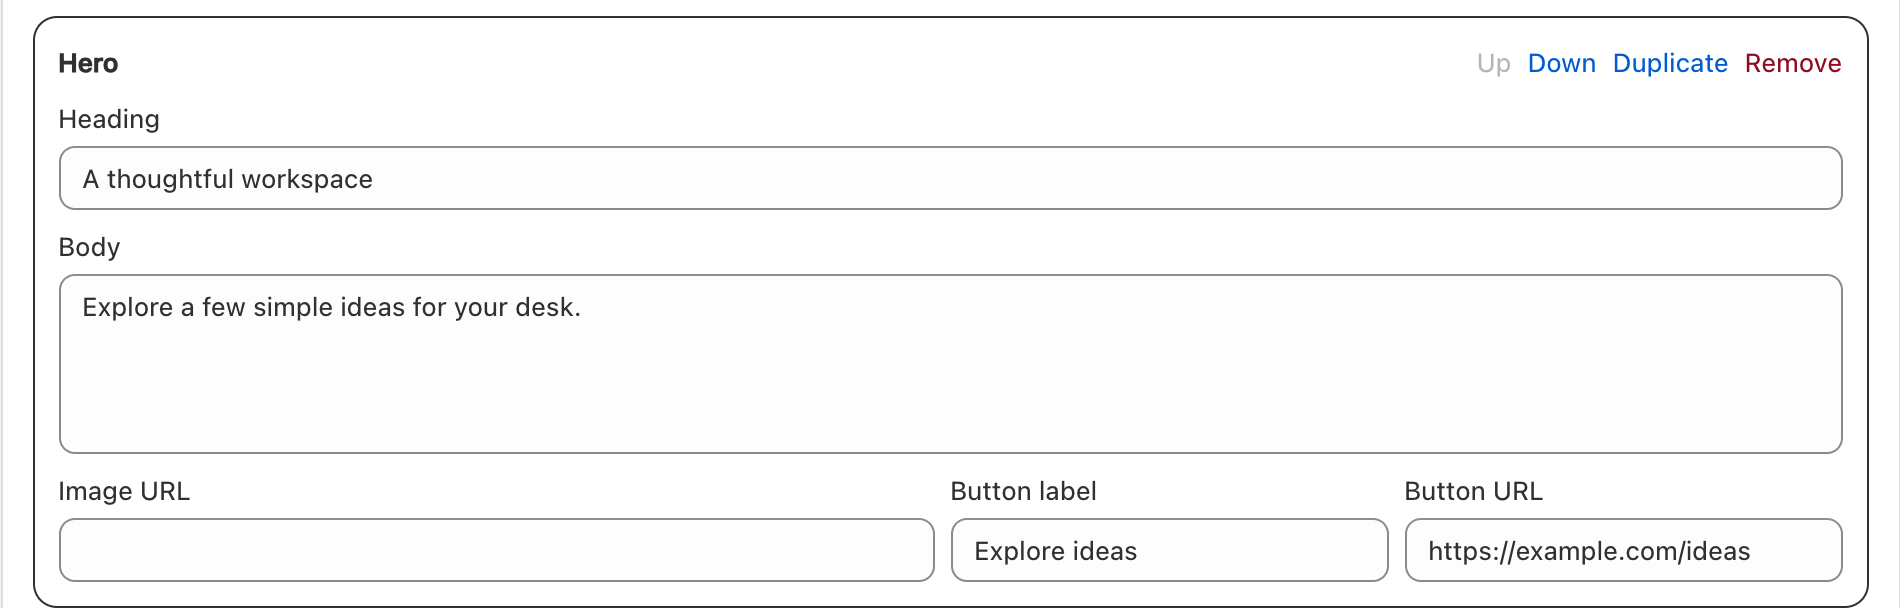
View full-size image: Campaign hero block editor
Settings explained
- Audience filters decide who should receive the campaign.
- Builder is where you write and organize the email content.
- Preview lets you review the final message before it is sent.
- Scheduled means the message is ready for a future send time.
- Reporting helps you review the campaign after it is sent.
Example
A merchant creates a reactivation campaign for subscribed contacts, sends a test to review formatting, schedules the campaign for the next morning, and later reviews the results to decide whether a follow-up message is needed.
Tips and limits
- Test sends are useful before large audience sends.
- Confirm audience filters before scheduling so the message reaches the right people.
- If a campaign cannot be sent, check required fields, reply details, and current campaign status first.